Putting a Roll Cage in Project 68
The next big project in the offseason for Project 68 is a roll cage. In this article I hope to not only educate but also motivate someone who may be interested in putting a cage in their own in their garage someday!
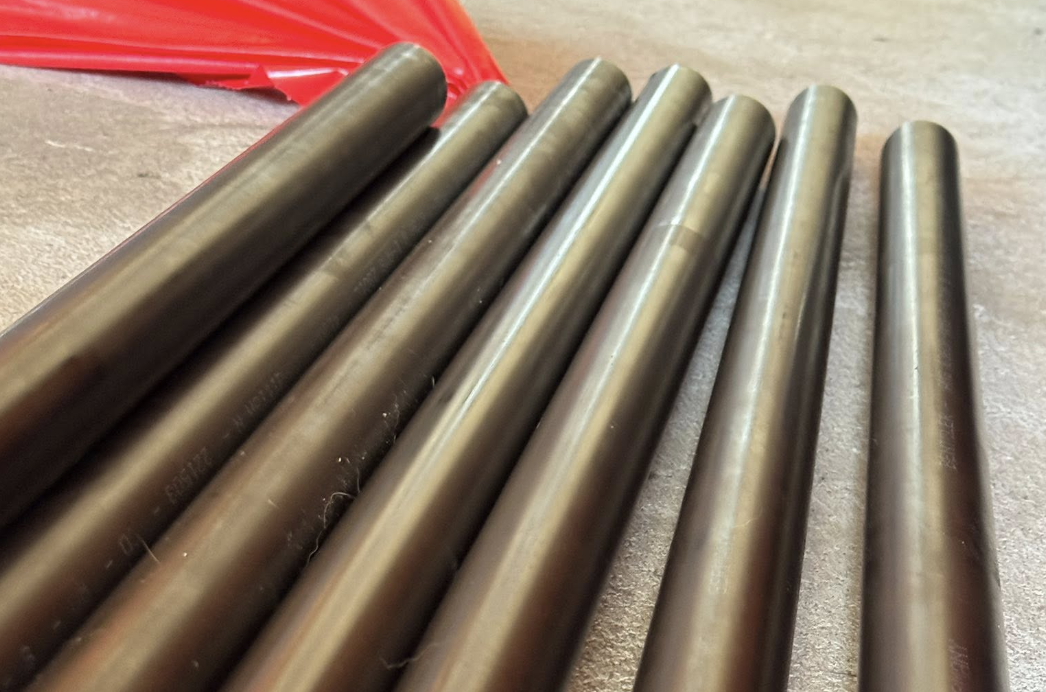
Desiring a stiffer and safer chassis to race in the future, the roll cage is a safety feature of bars placed in certain areas following NHRA sanctioning rules and is designed to incase the driver in the event of an accident. Following the NHRA Rulebook with an 8.50 certification cage the plan, I’ve gone with a chromoly chassis 4130 vs mild steel for a number of reasons including weight and a stronger build.
The single-most important thing to learn before beginning a roll cage is everything legality wise about a cage. What certification are you after vs what is needed, what bars are needed, their sizing from diameter to thickness all can changed based on the bars needed, how they are mounted and what is allowed vs what should be added? What cage you are installing and what material you use? Friendly reminder that all chromoly chassis must be tig welded while a mild steel cage can be mig welded or tig welded. Tig is a far superior strength process of welding due to several factors like the ability to control heat, less porosity and the weapon of choice in our project and gussets should always be in your gameplan.
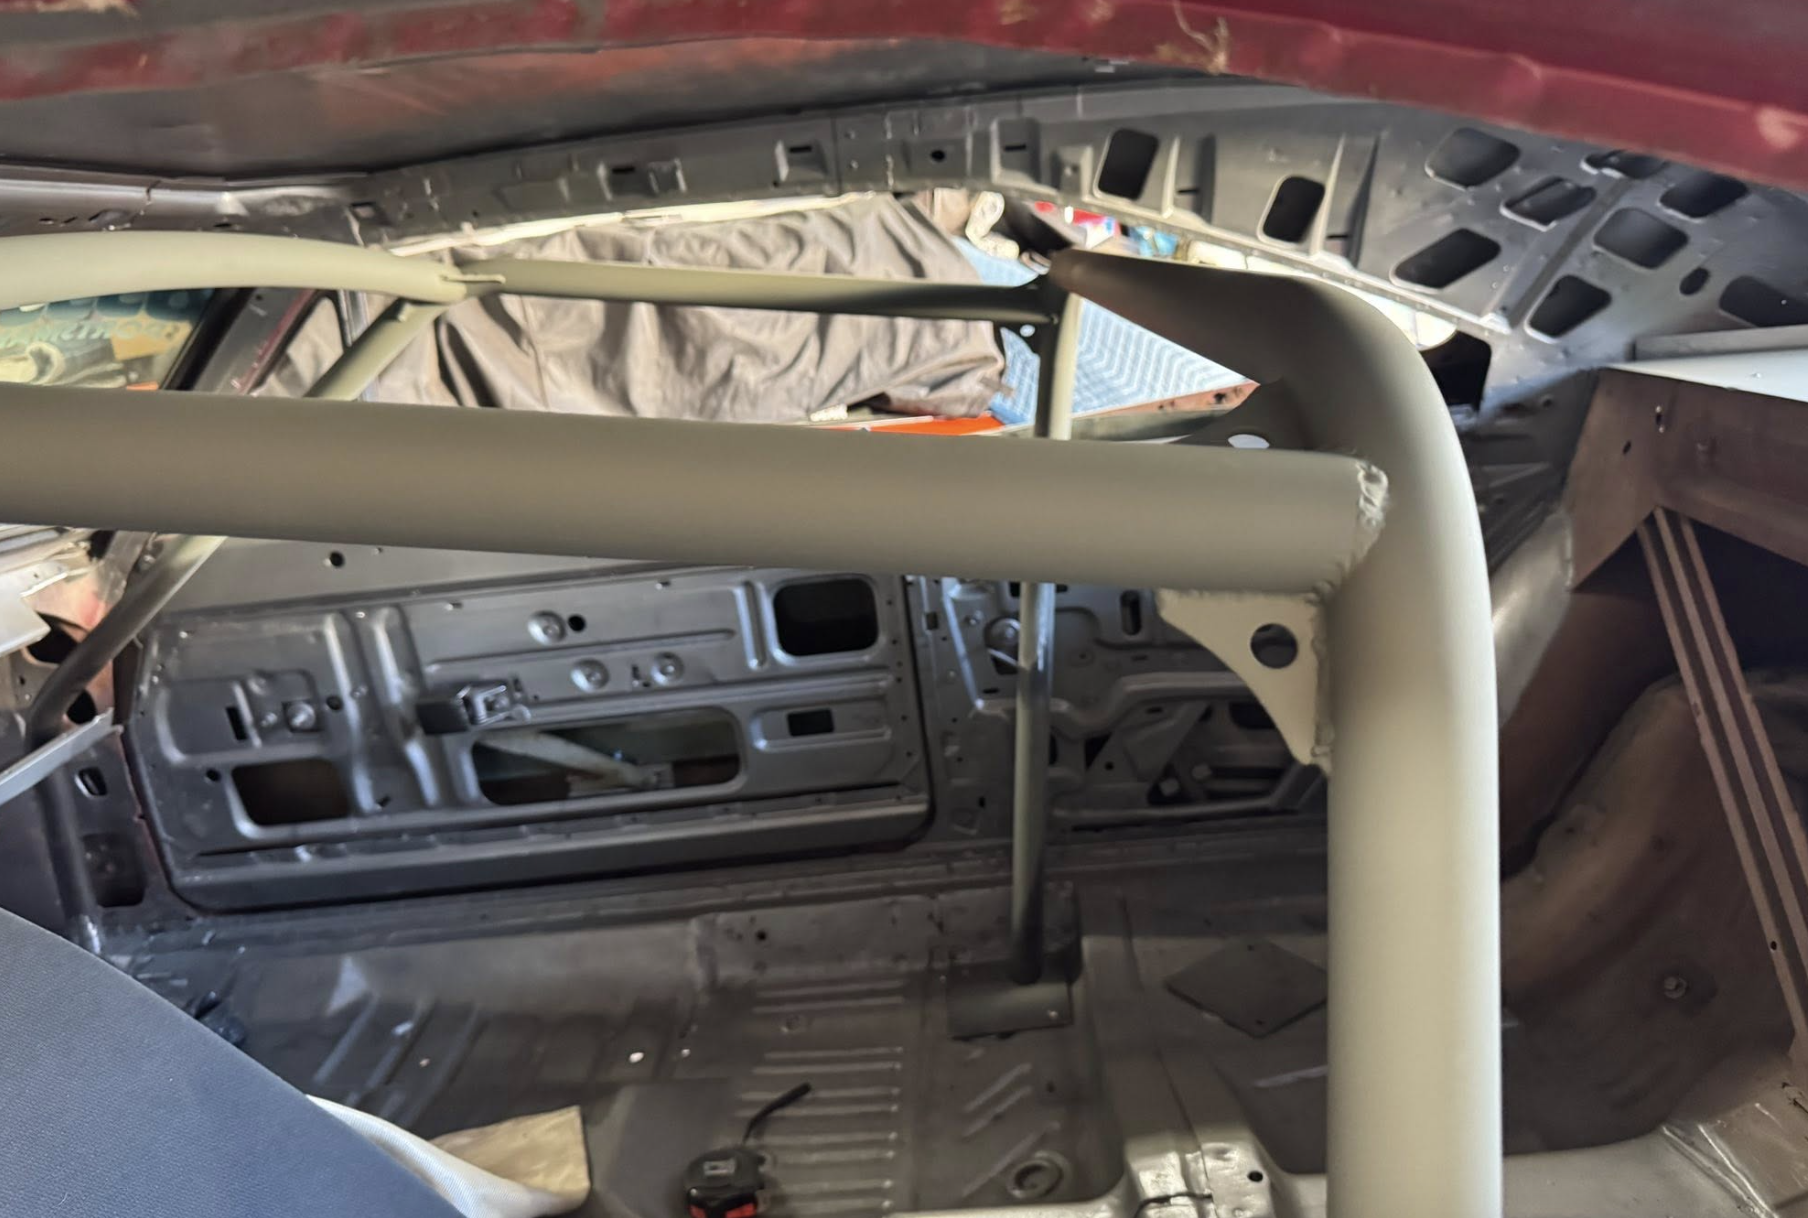
Bars for what I’m attempting will be inch and five-eighths chromoly across the board for strength purposes. With the help of a friend’s tubing bender (Thanks Bill!) I’ve narrowed my cage down to a 8.50 certification, swing-out on driver side and 1 5/8 across the board. Before any bending began, the main hoop construction out of PVC pipe, melting the corners to find my bends and angles was the priority as a template is needed to copy as the bending begins as I tackle the main hoop first.
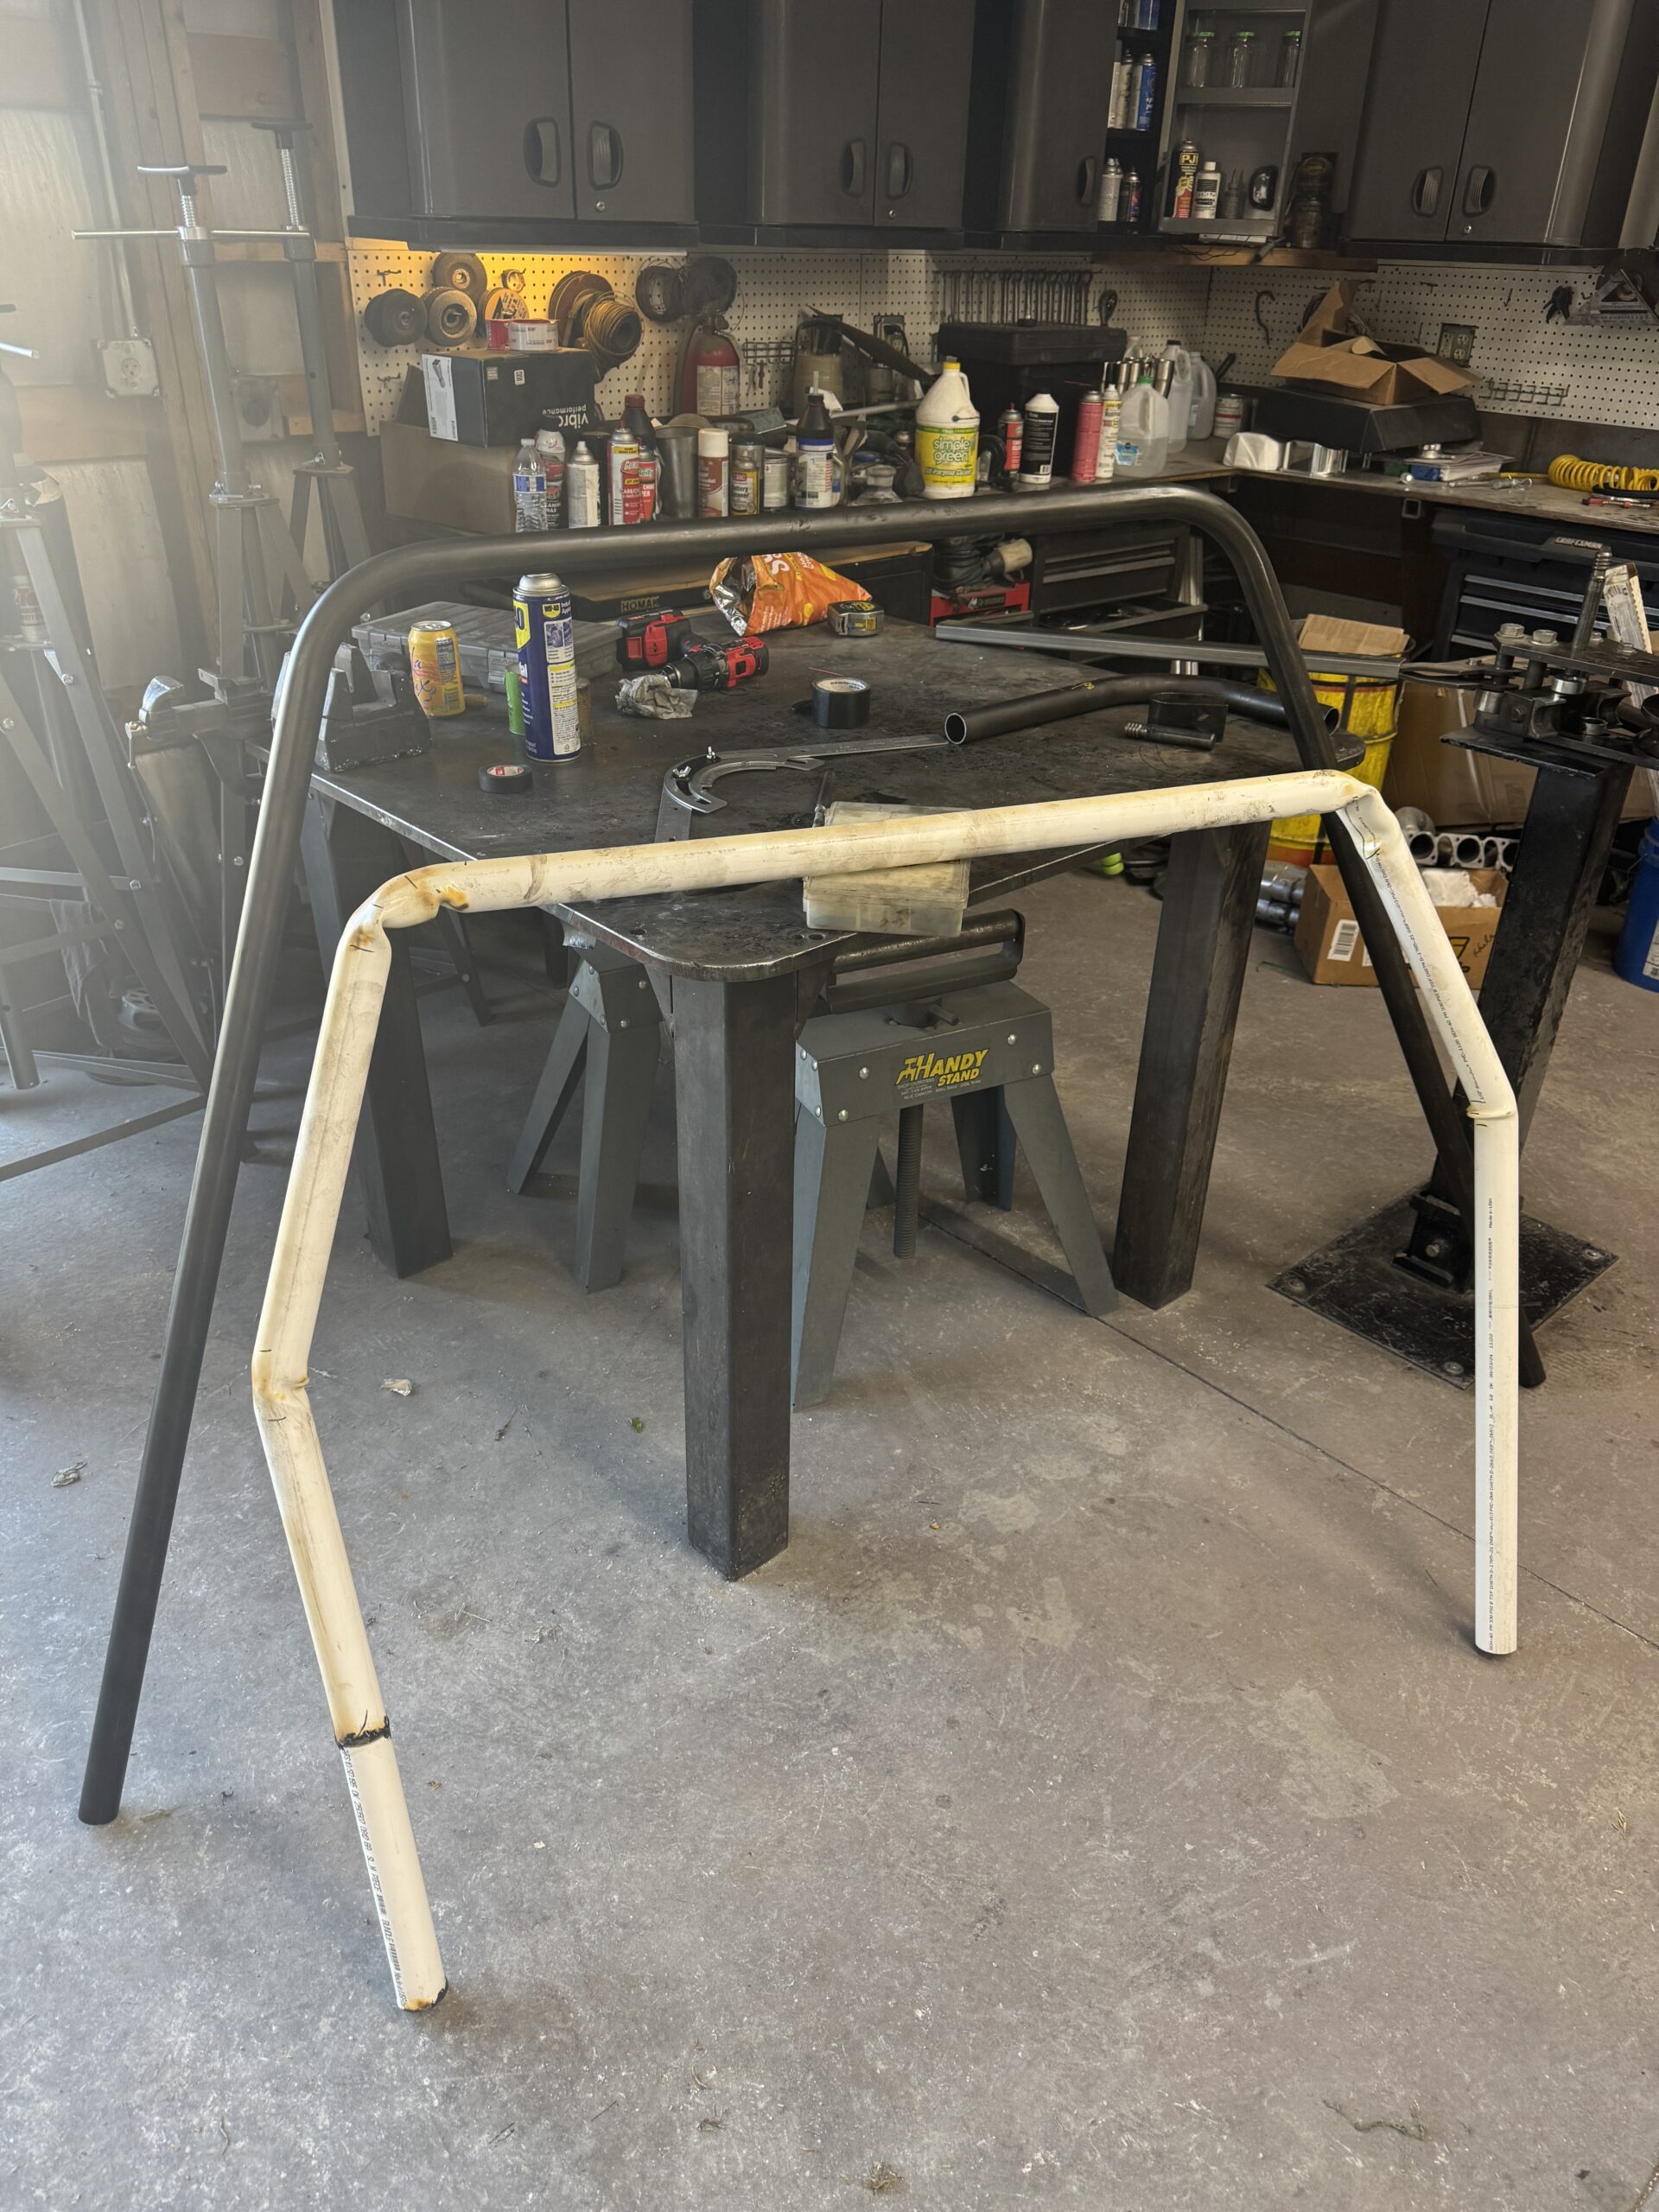
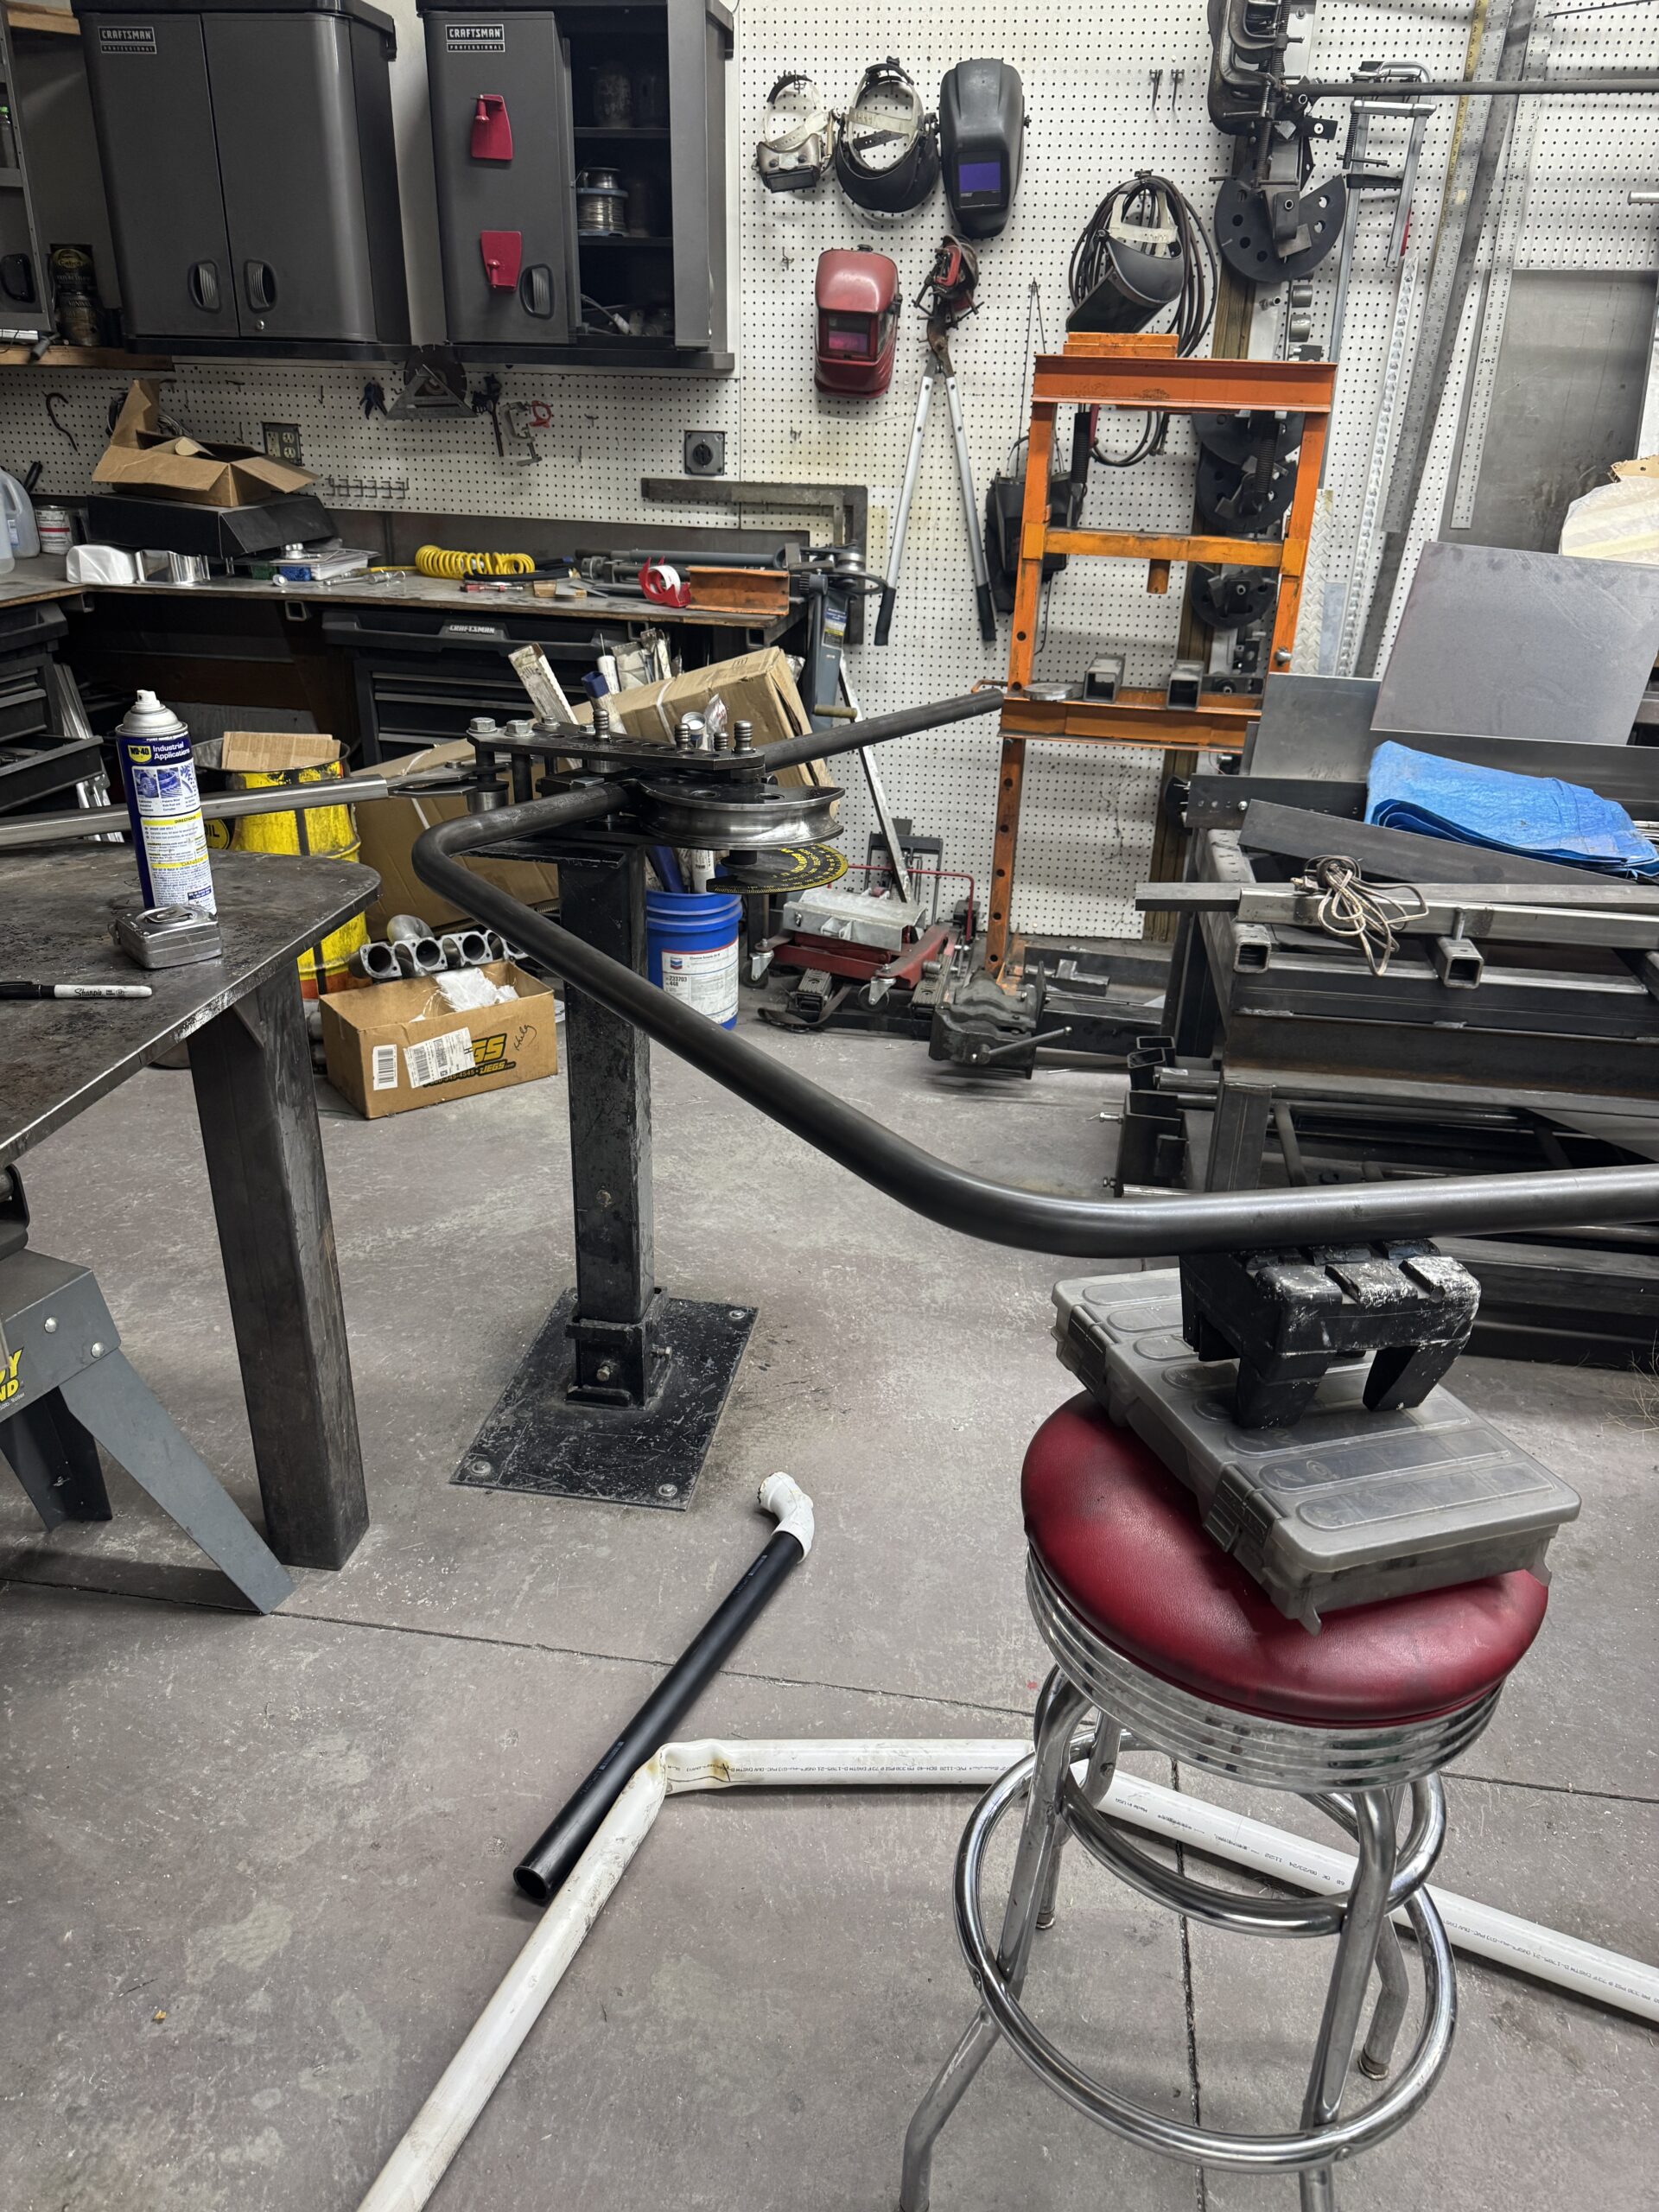
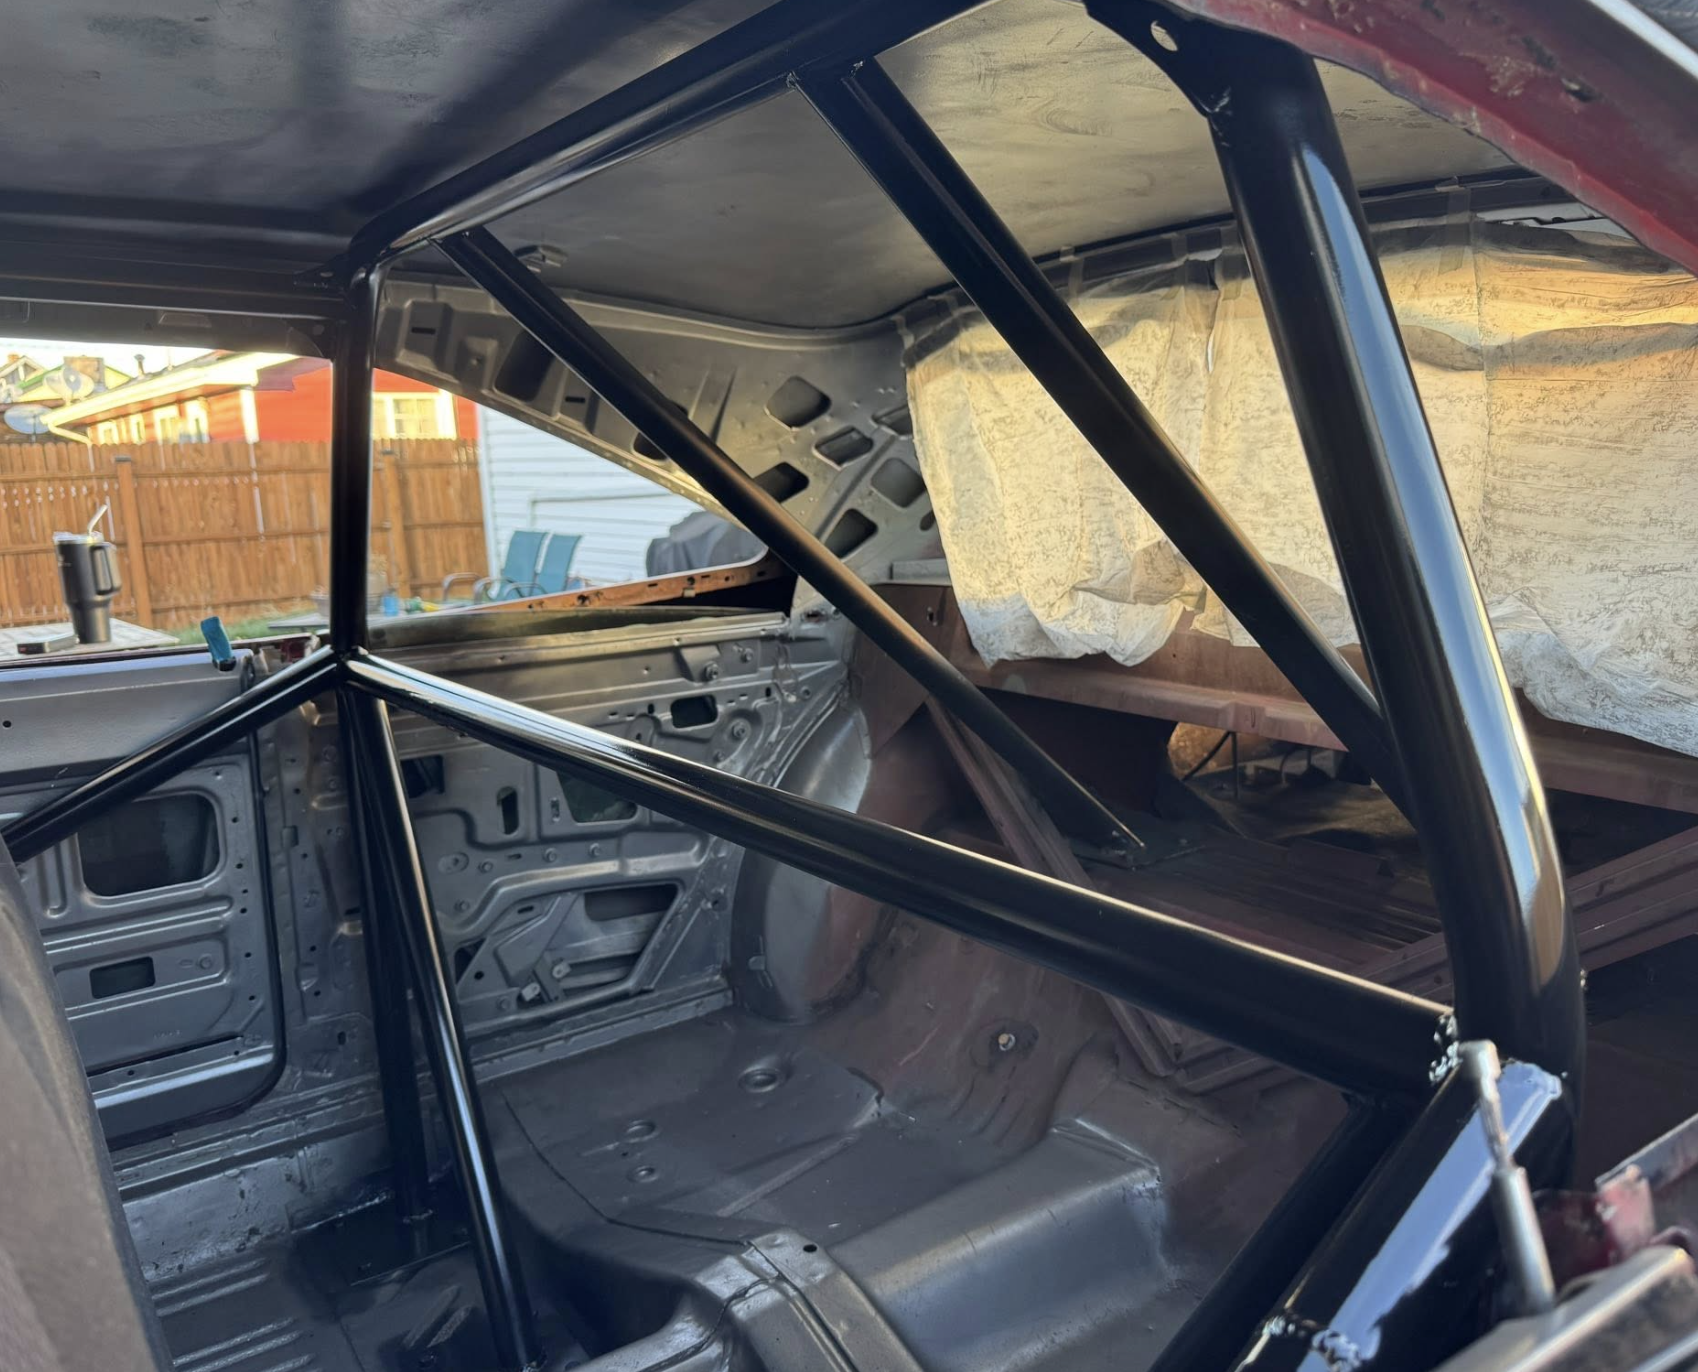
 With the main hoop bent to my satisfaction, on to the dash runners bending from the foot box up towards the dash, then bending up to the roof and finally, towards the main hoop.
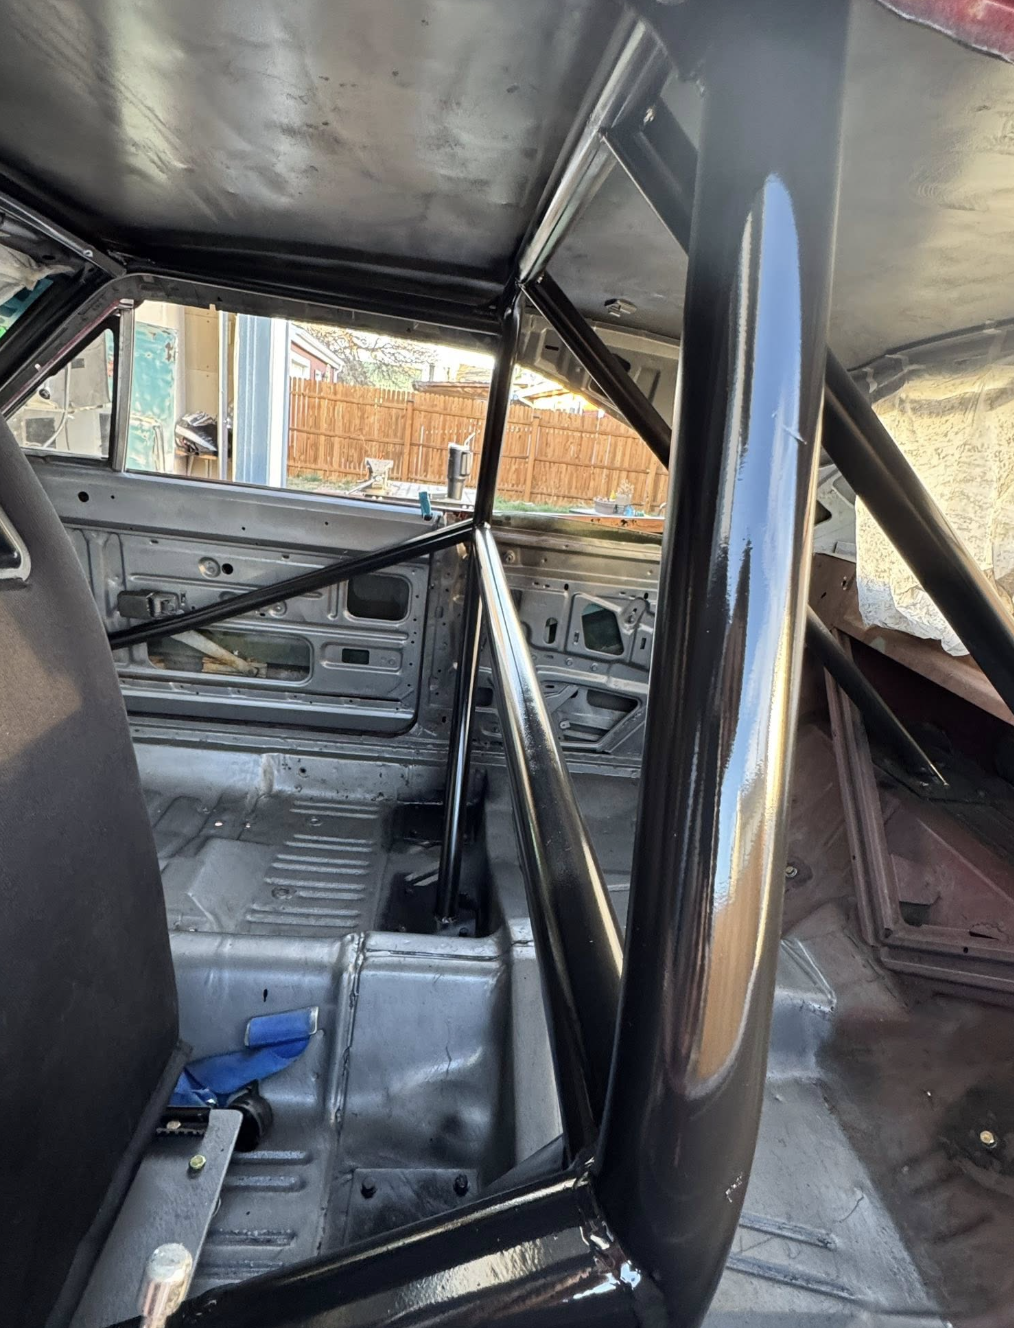
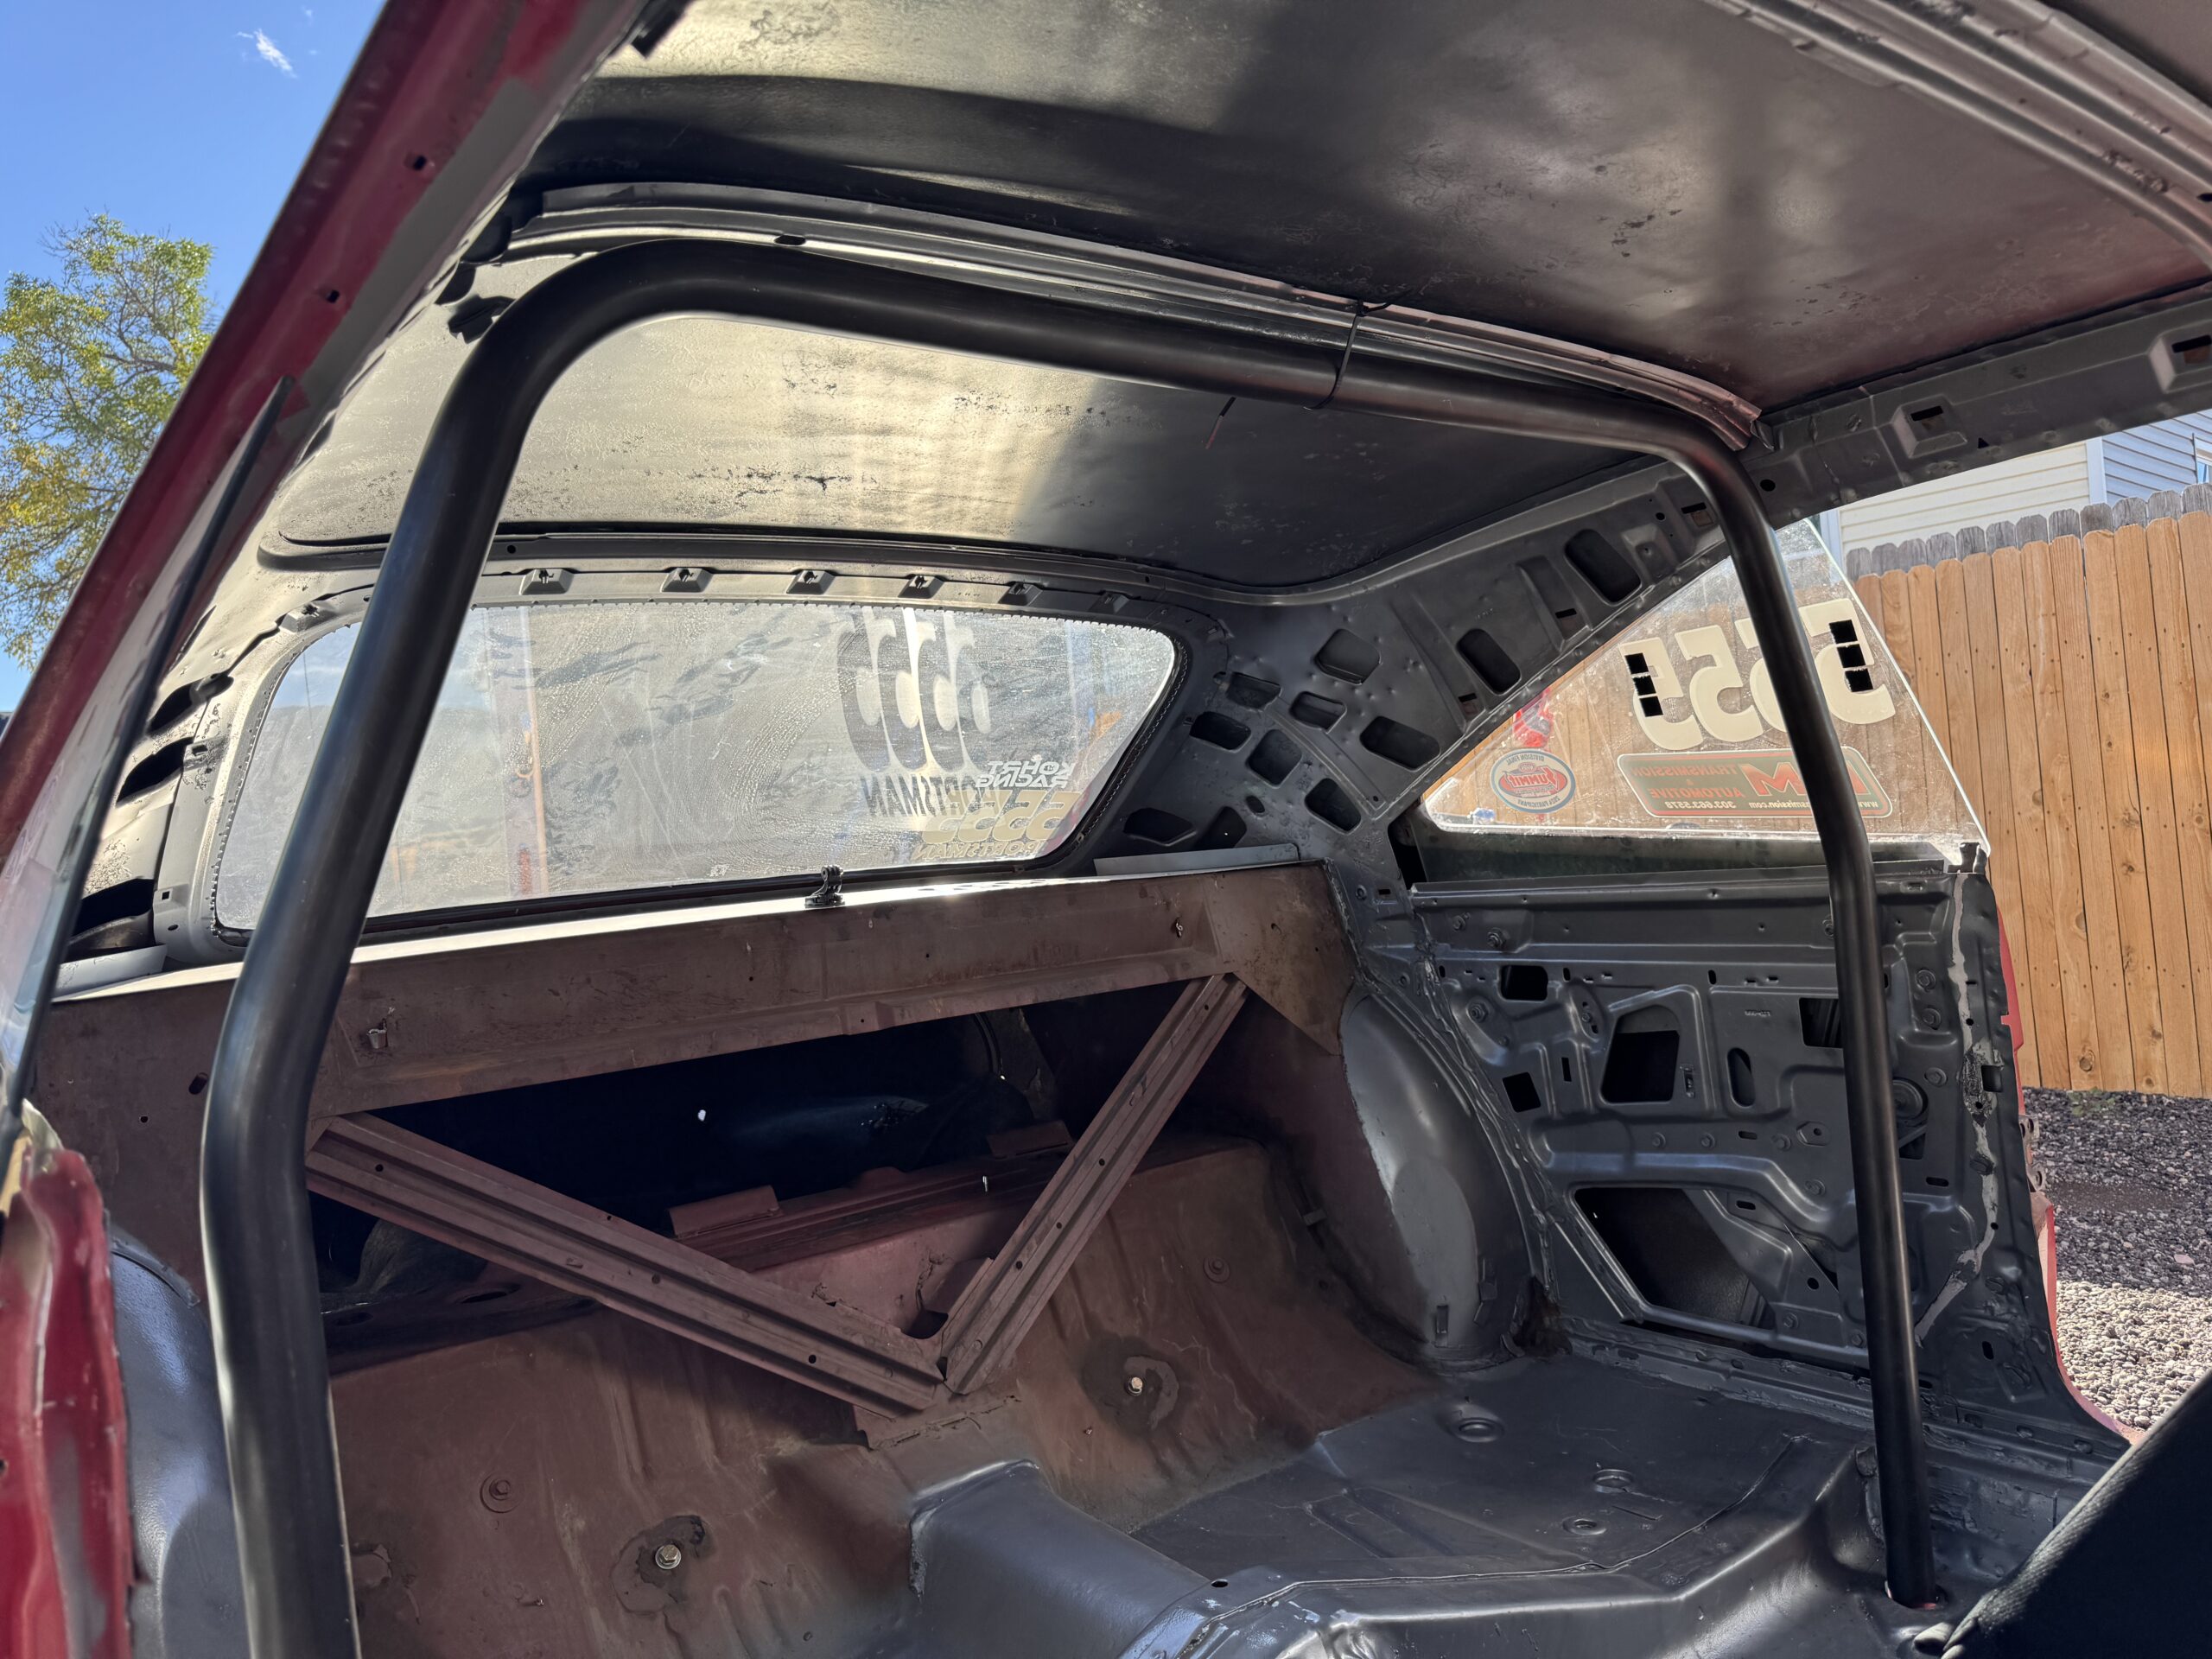
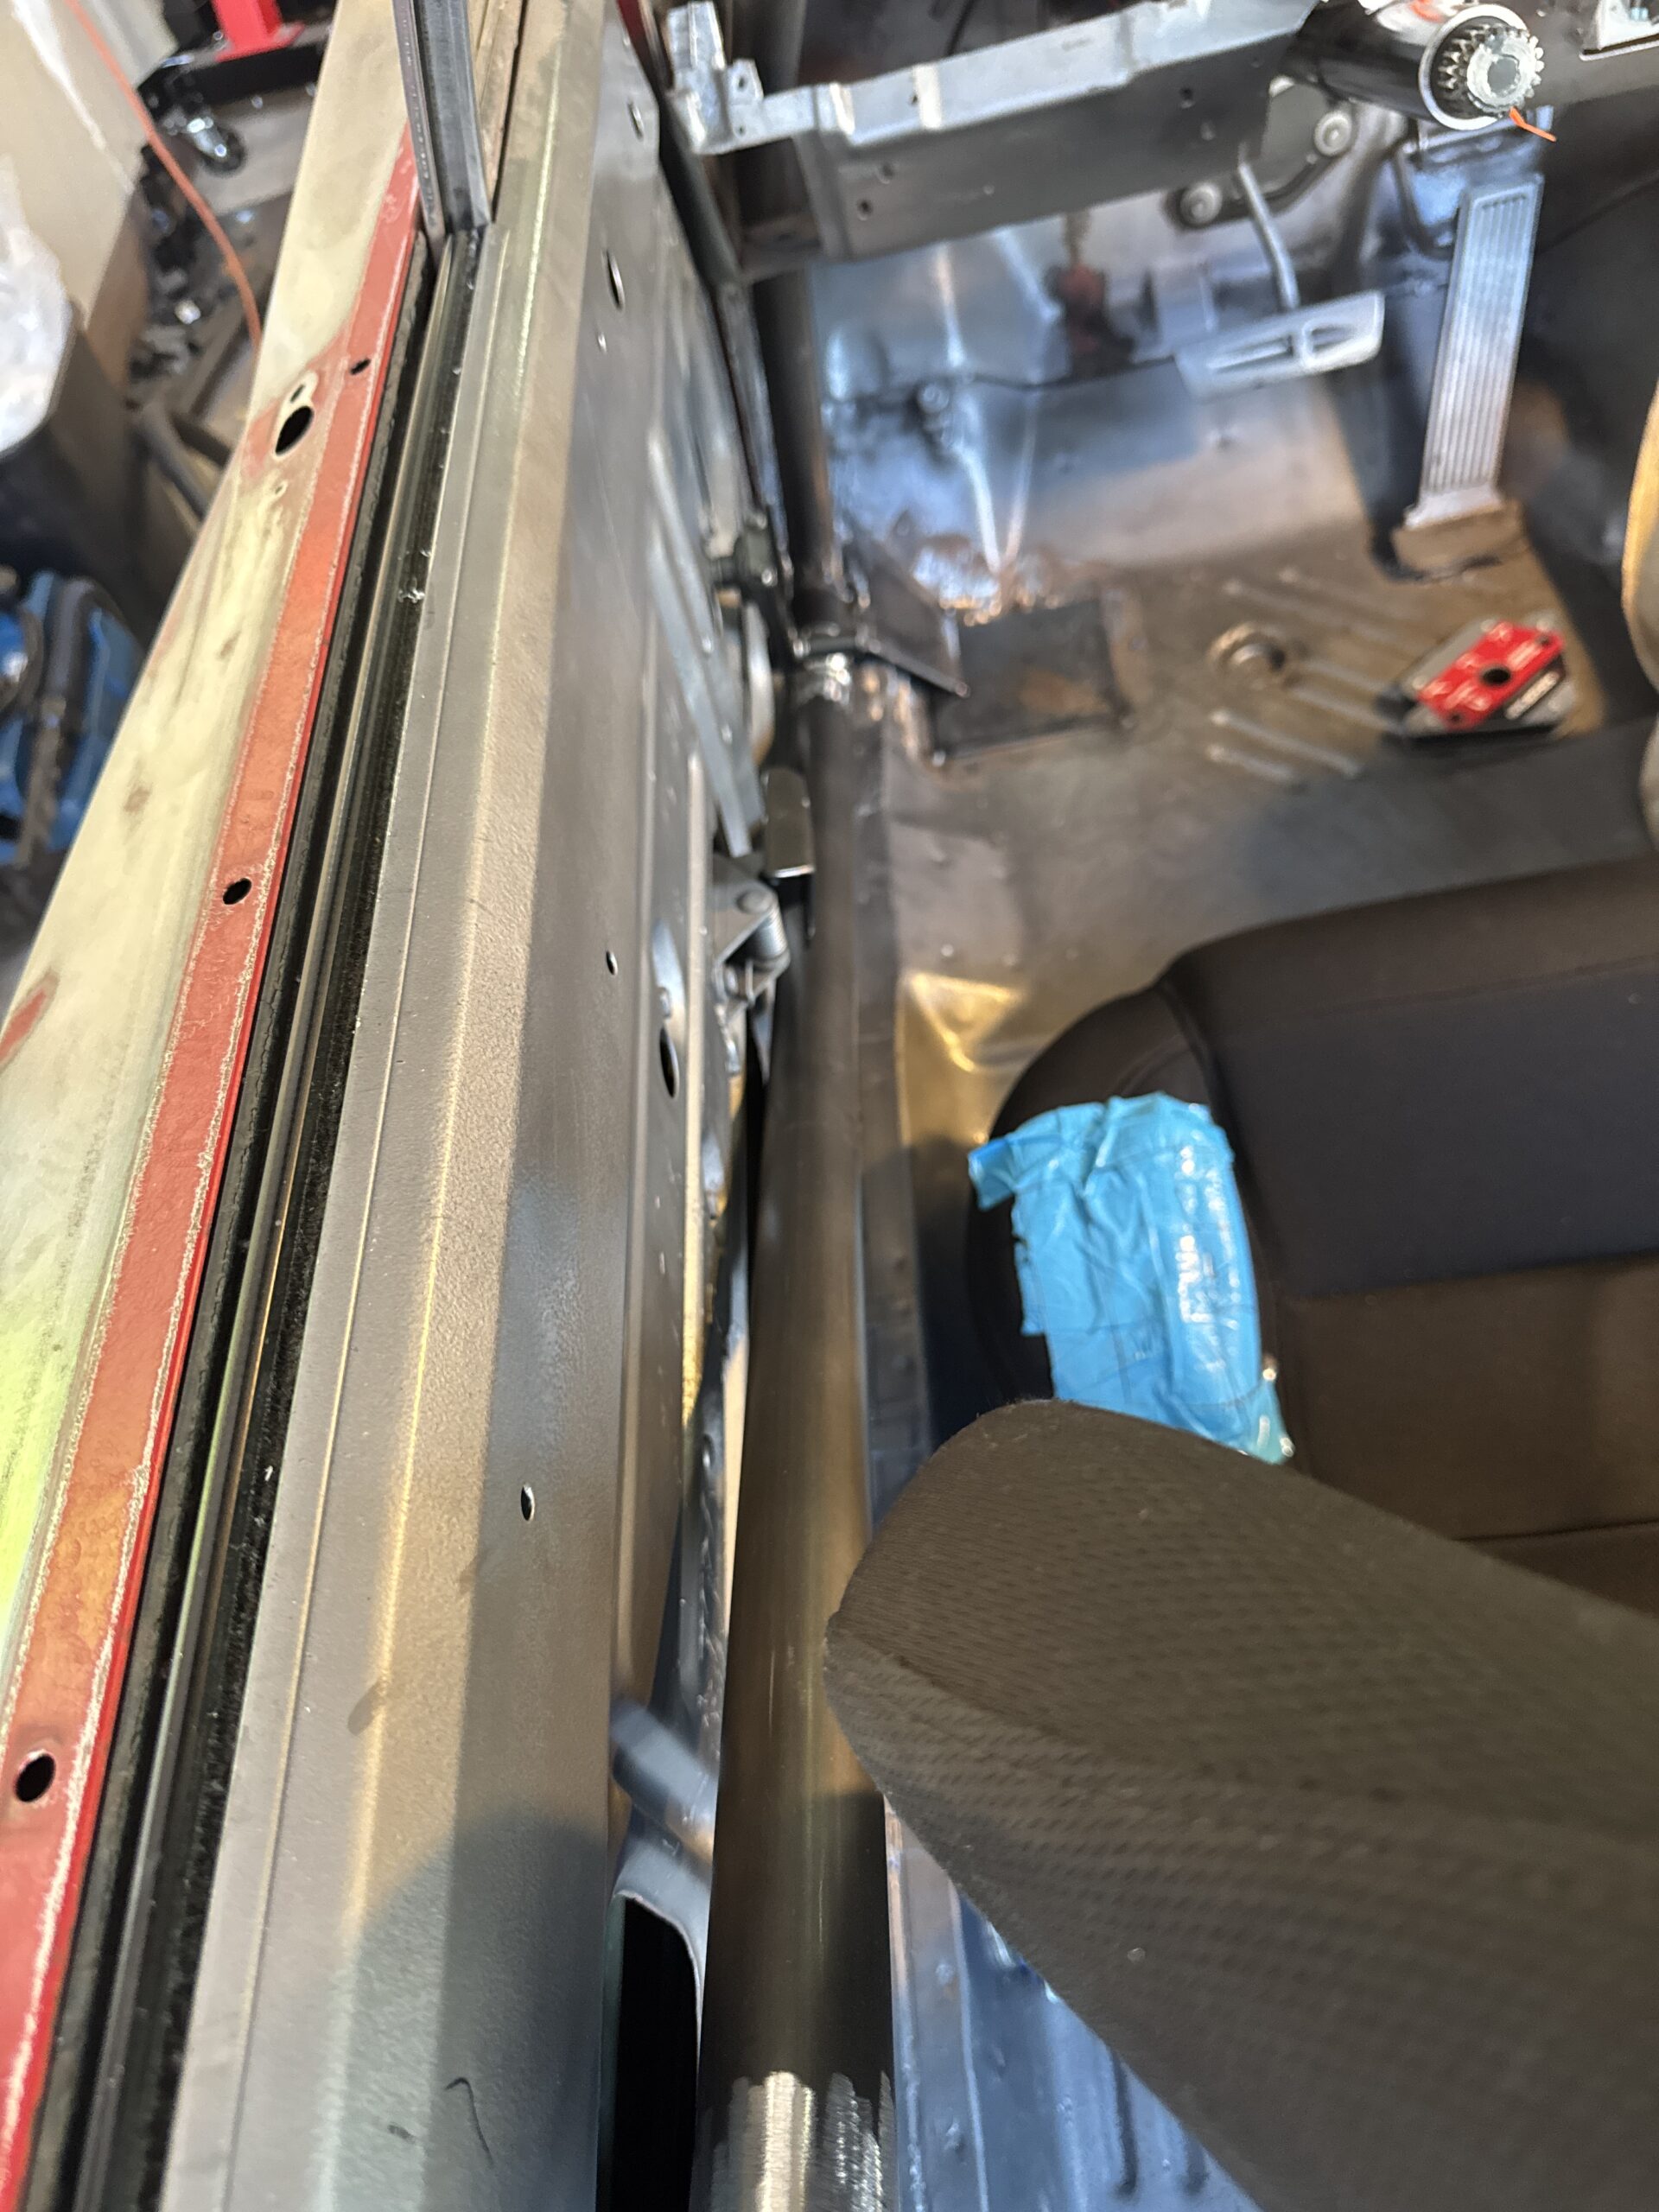
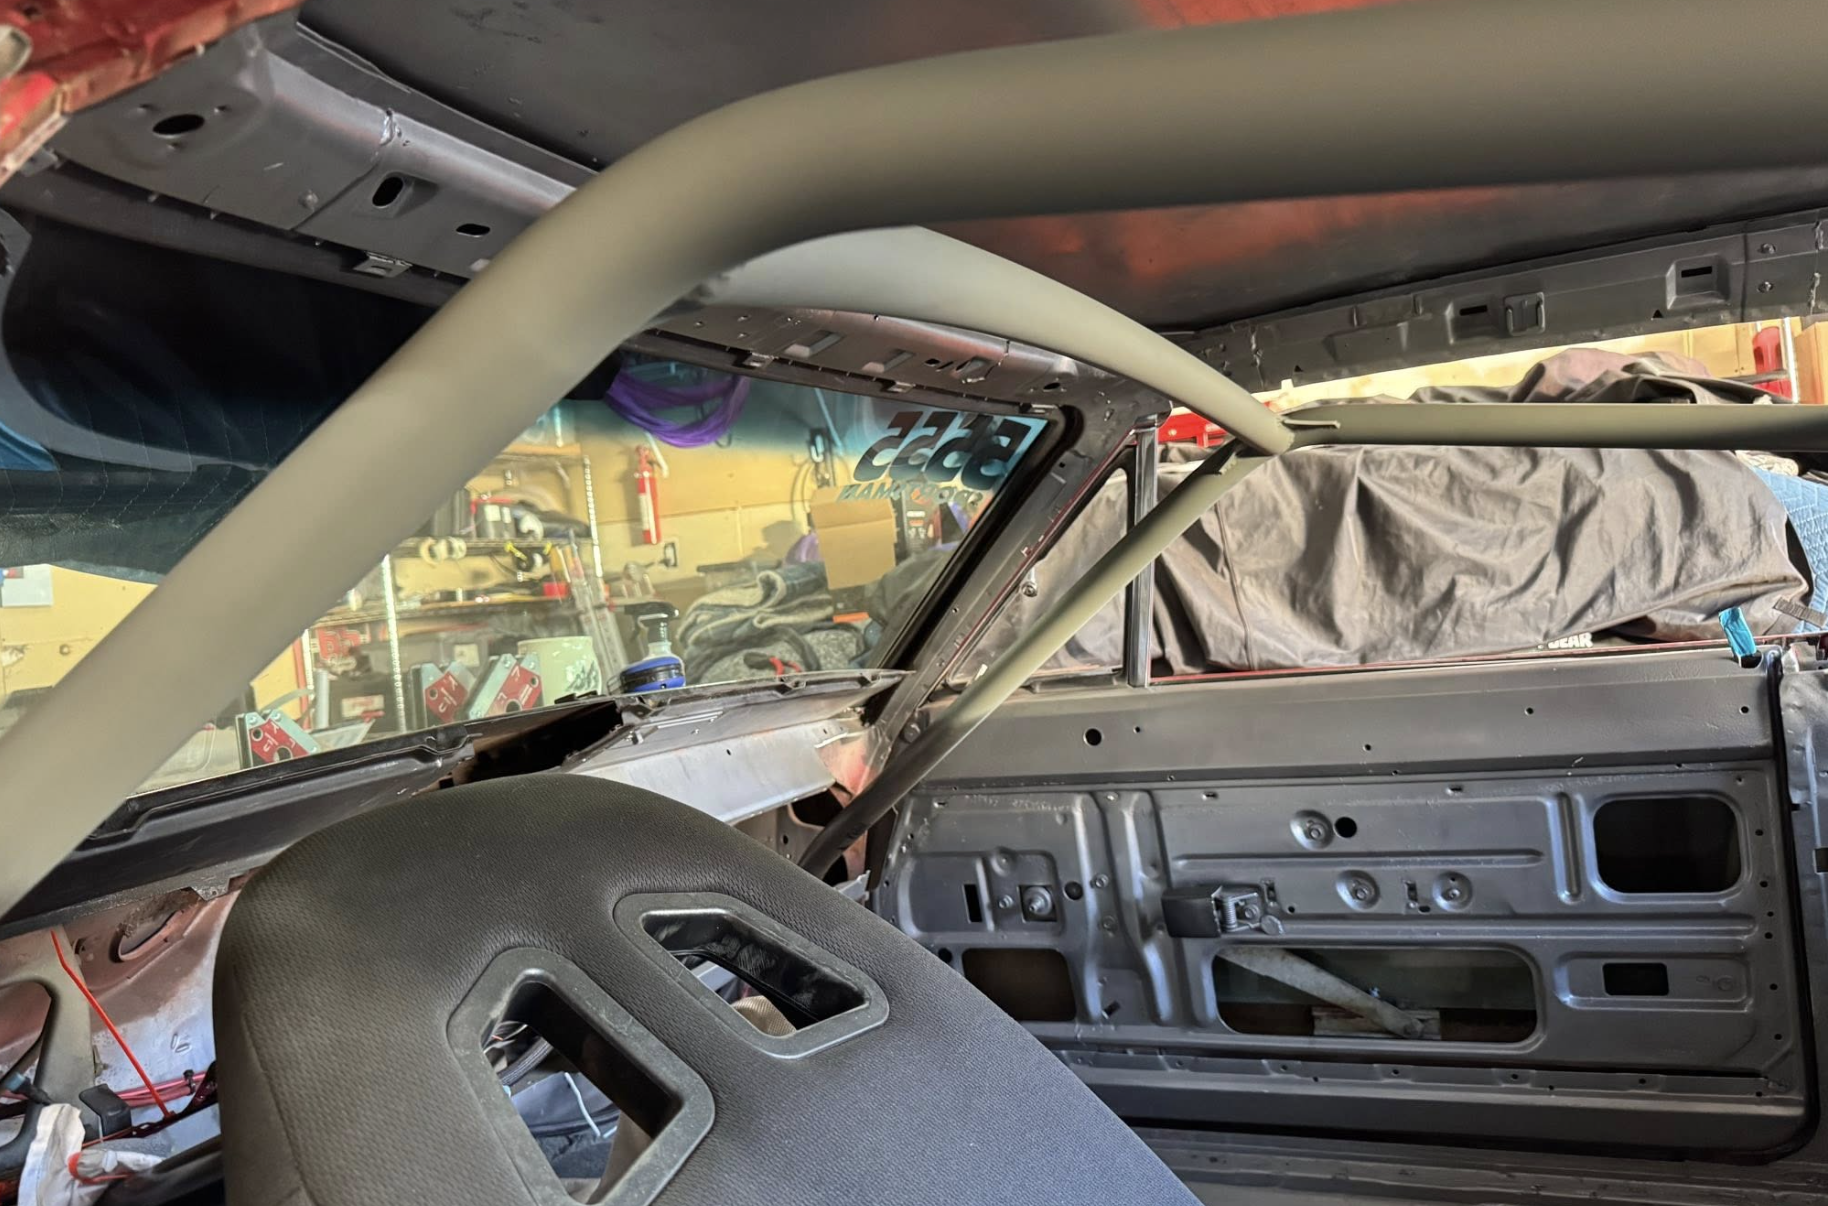
This is one of the most critical bars for not only strength but convenience. There’s nothing worse than a cage that adds to the discomfort of a driver and inconvenience of the lack of visibility or movement it could bring. Bending these bars as close as possible to the body and A-pillar for additional strength as two forms of protection against force is a major priority and thankfully, both bars go in fairly smooth.
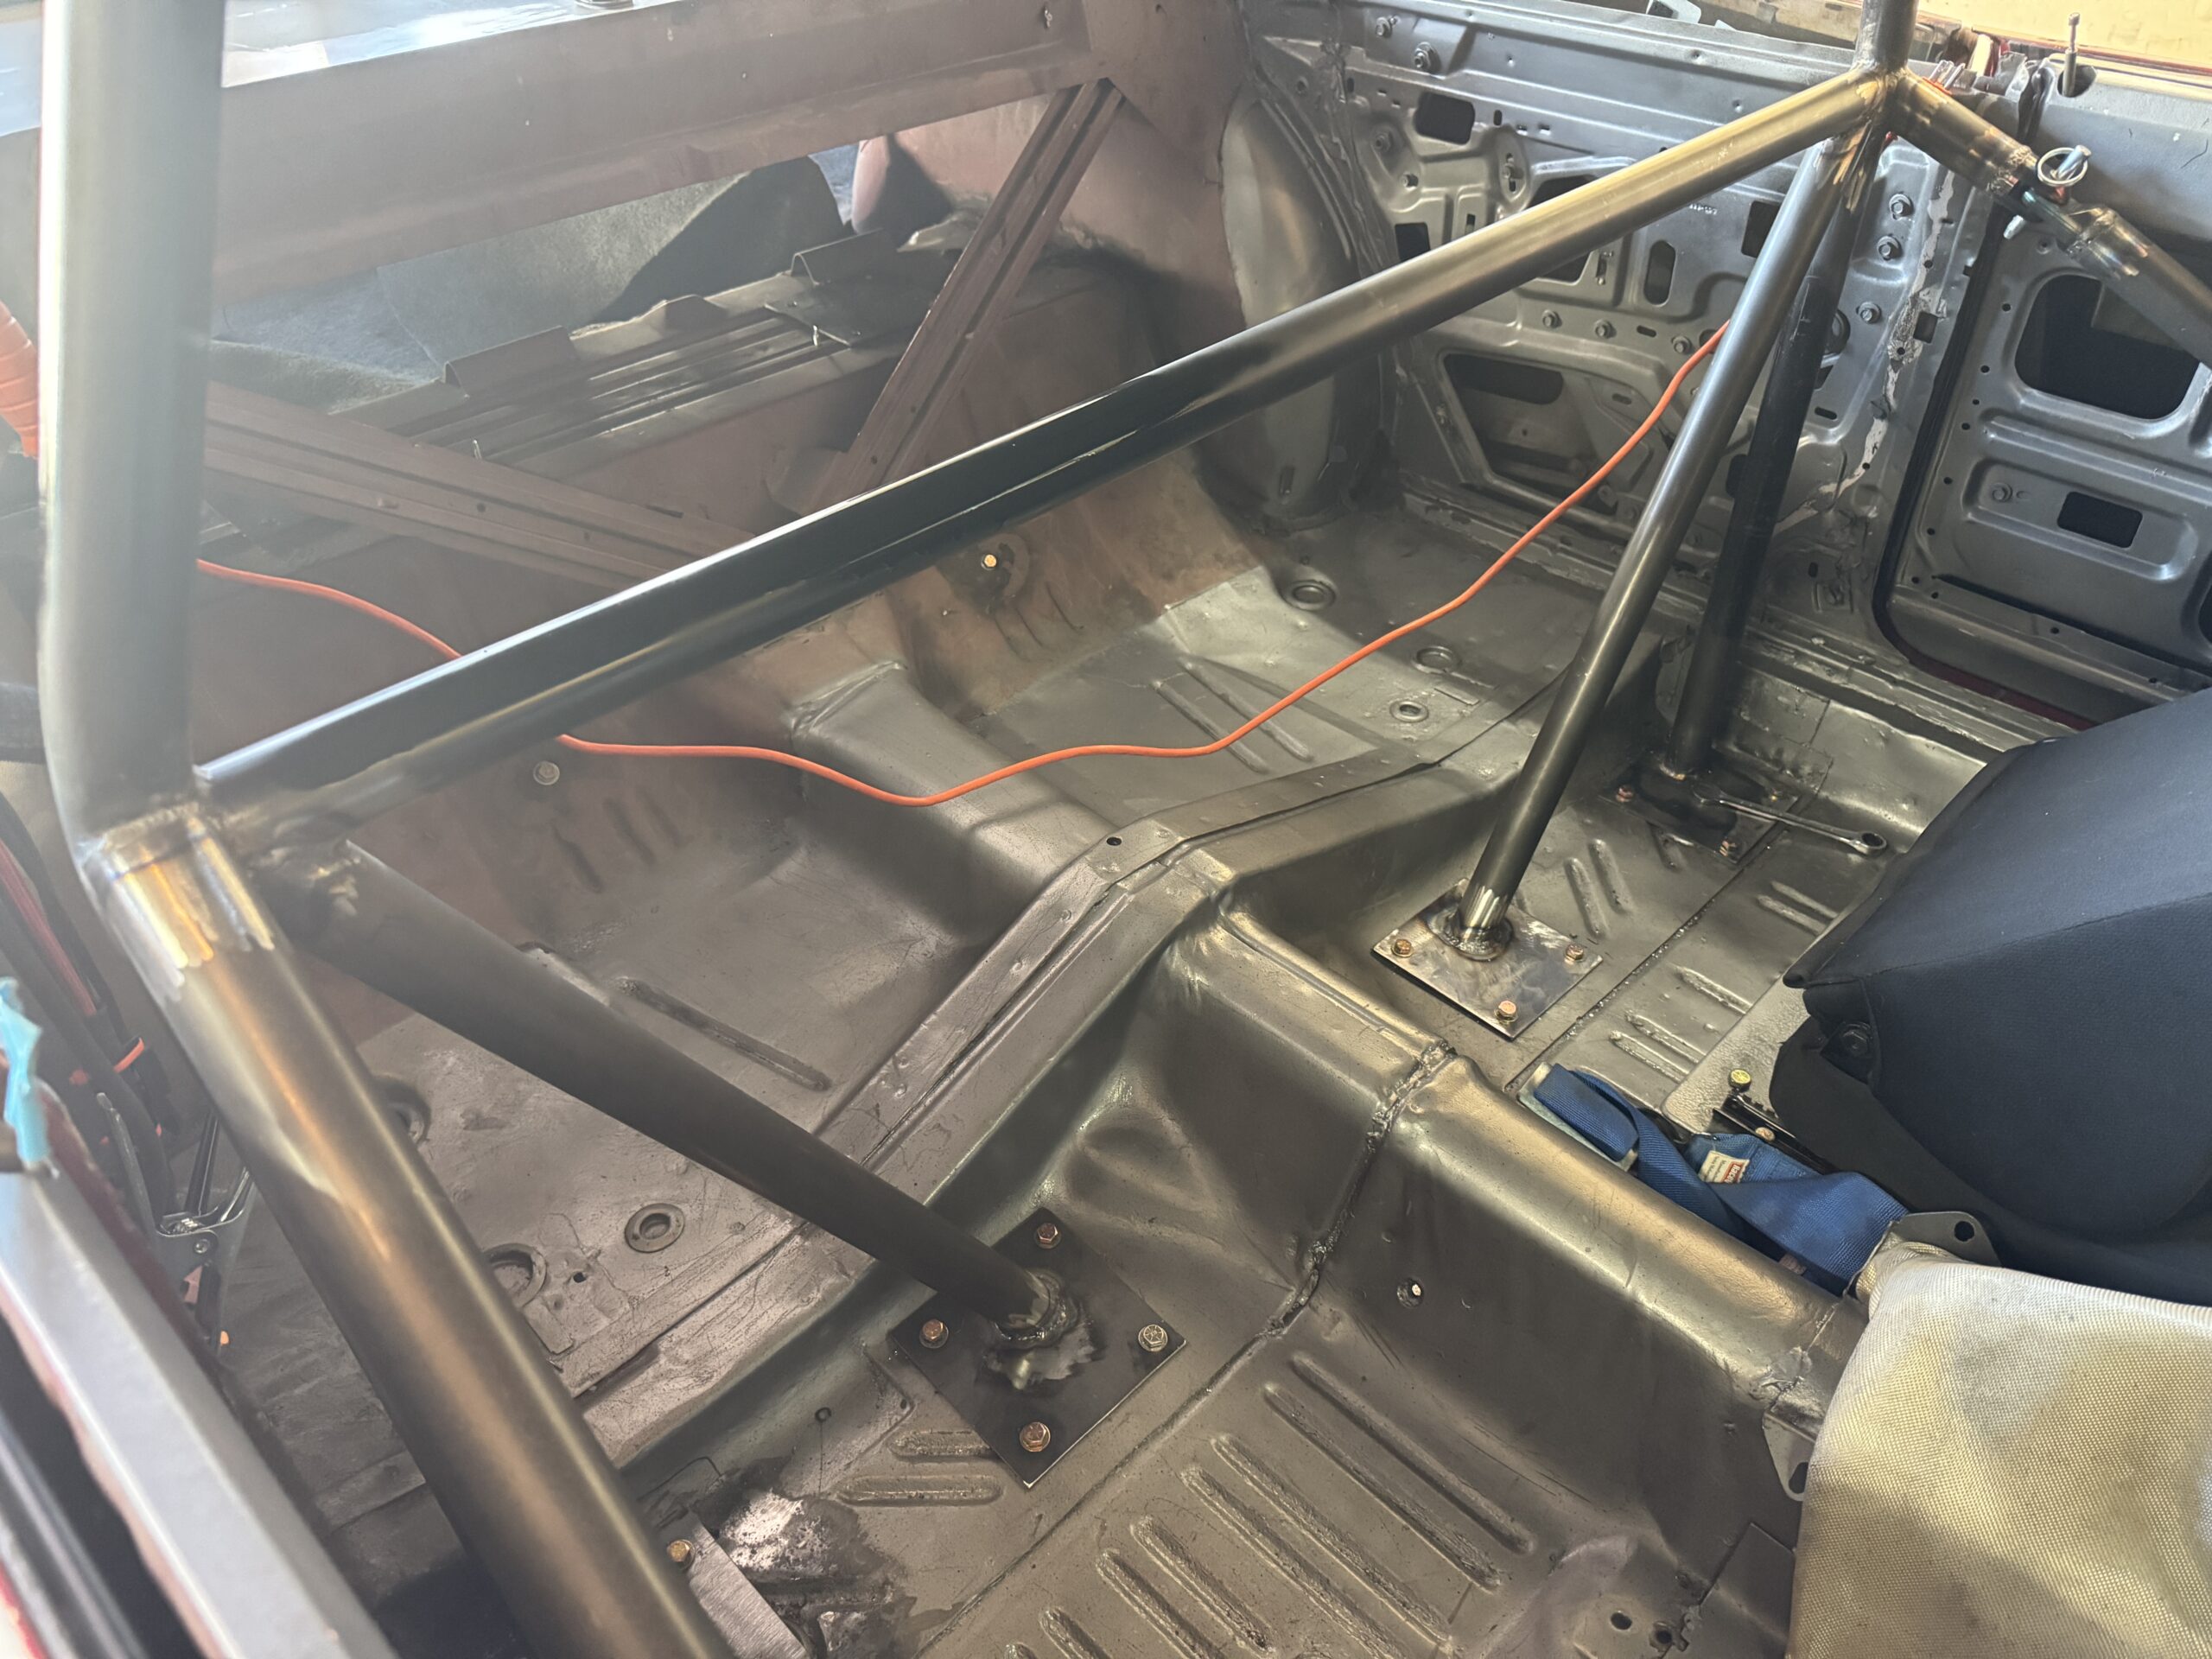
One tip, if possible on your vehicle, is to cut a hole in the floor of your vehicle so the cage can sink downward and the entire cage can get welded from above.
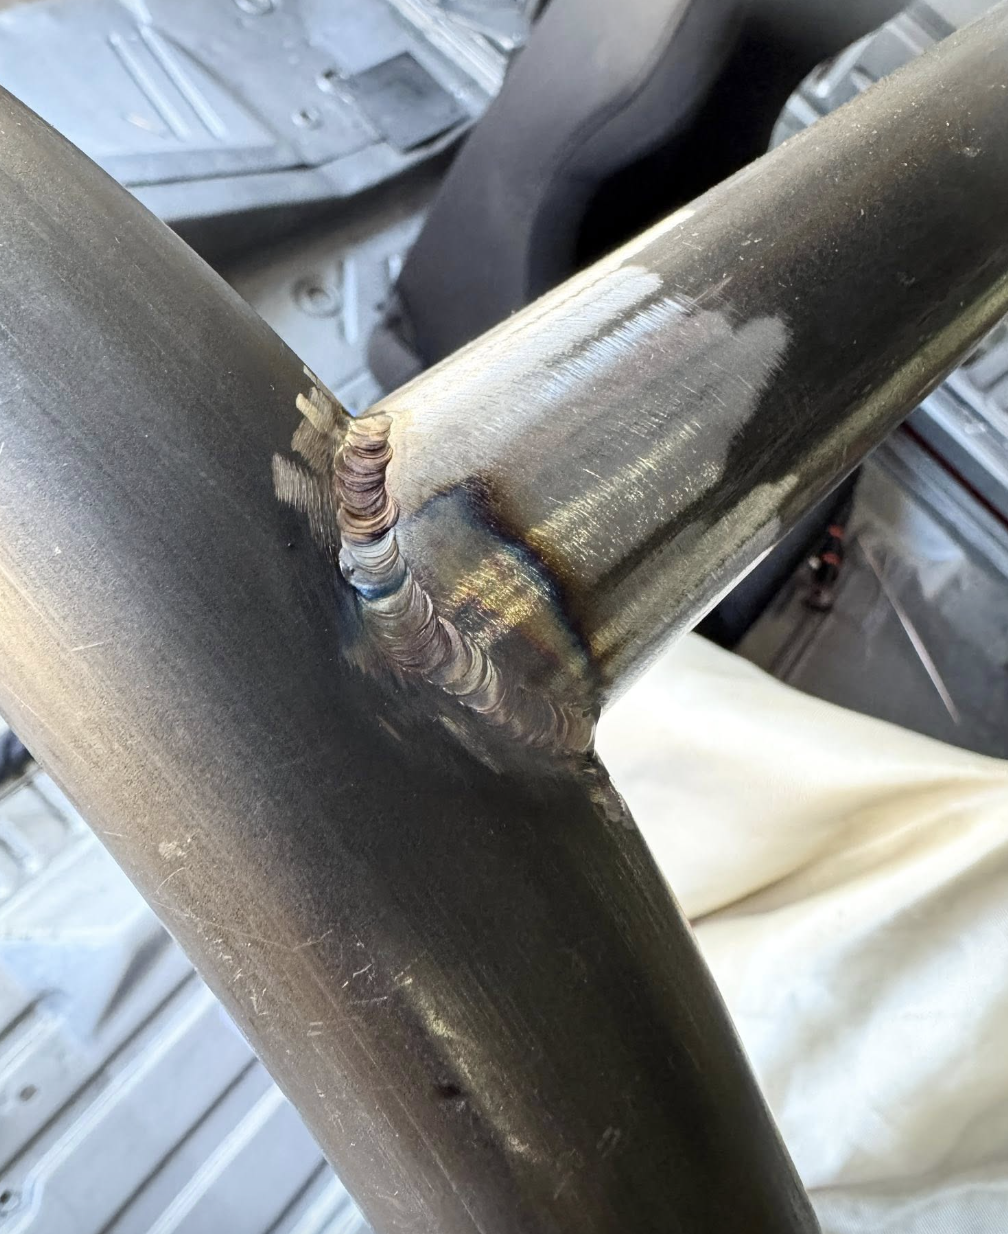
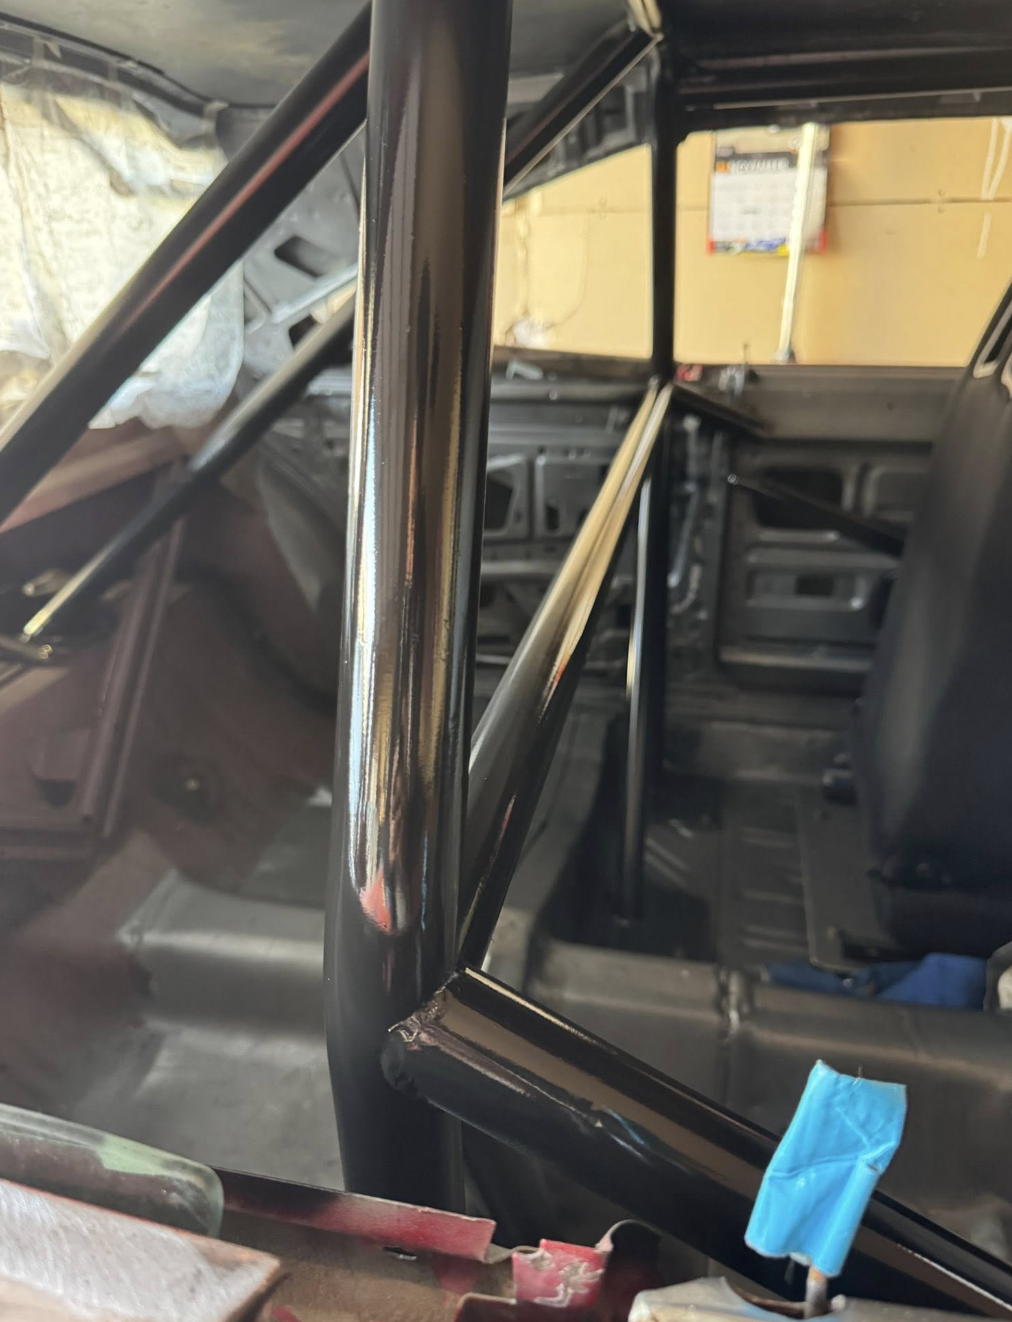
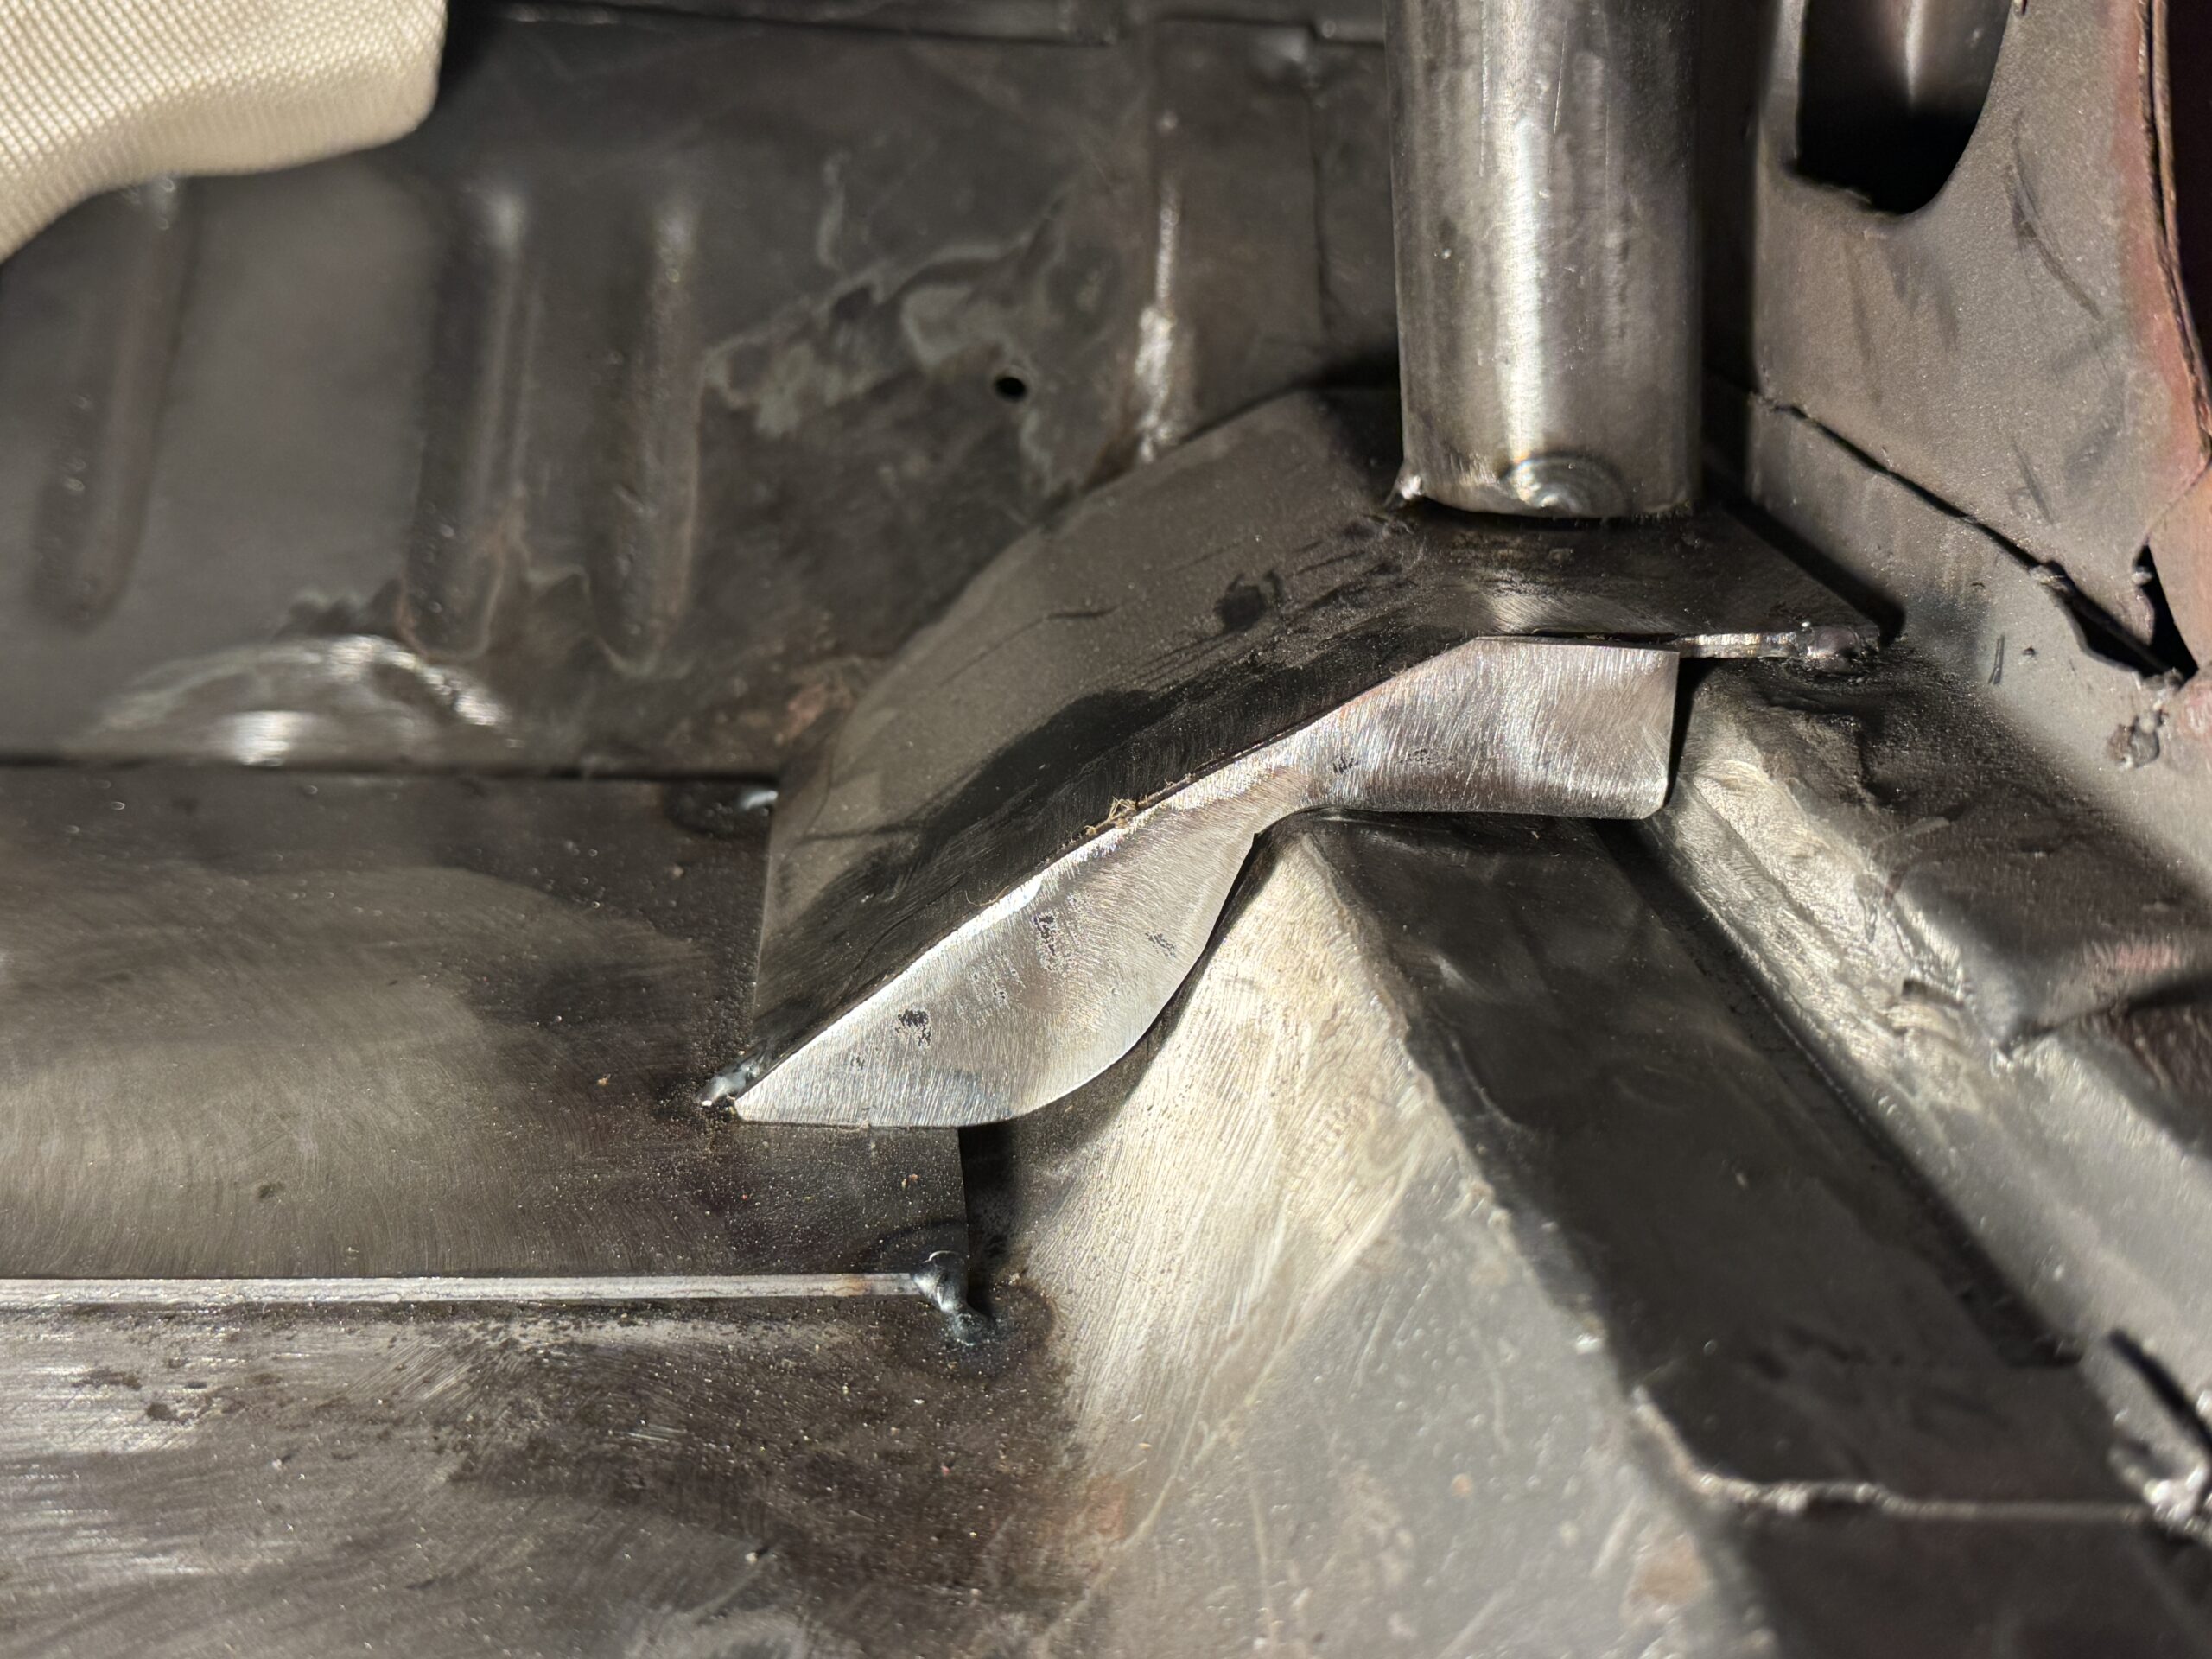
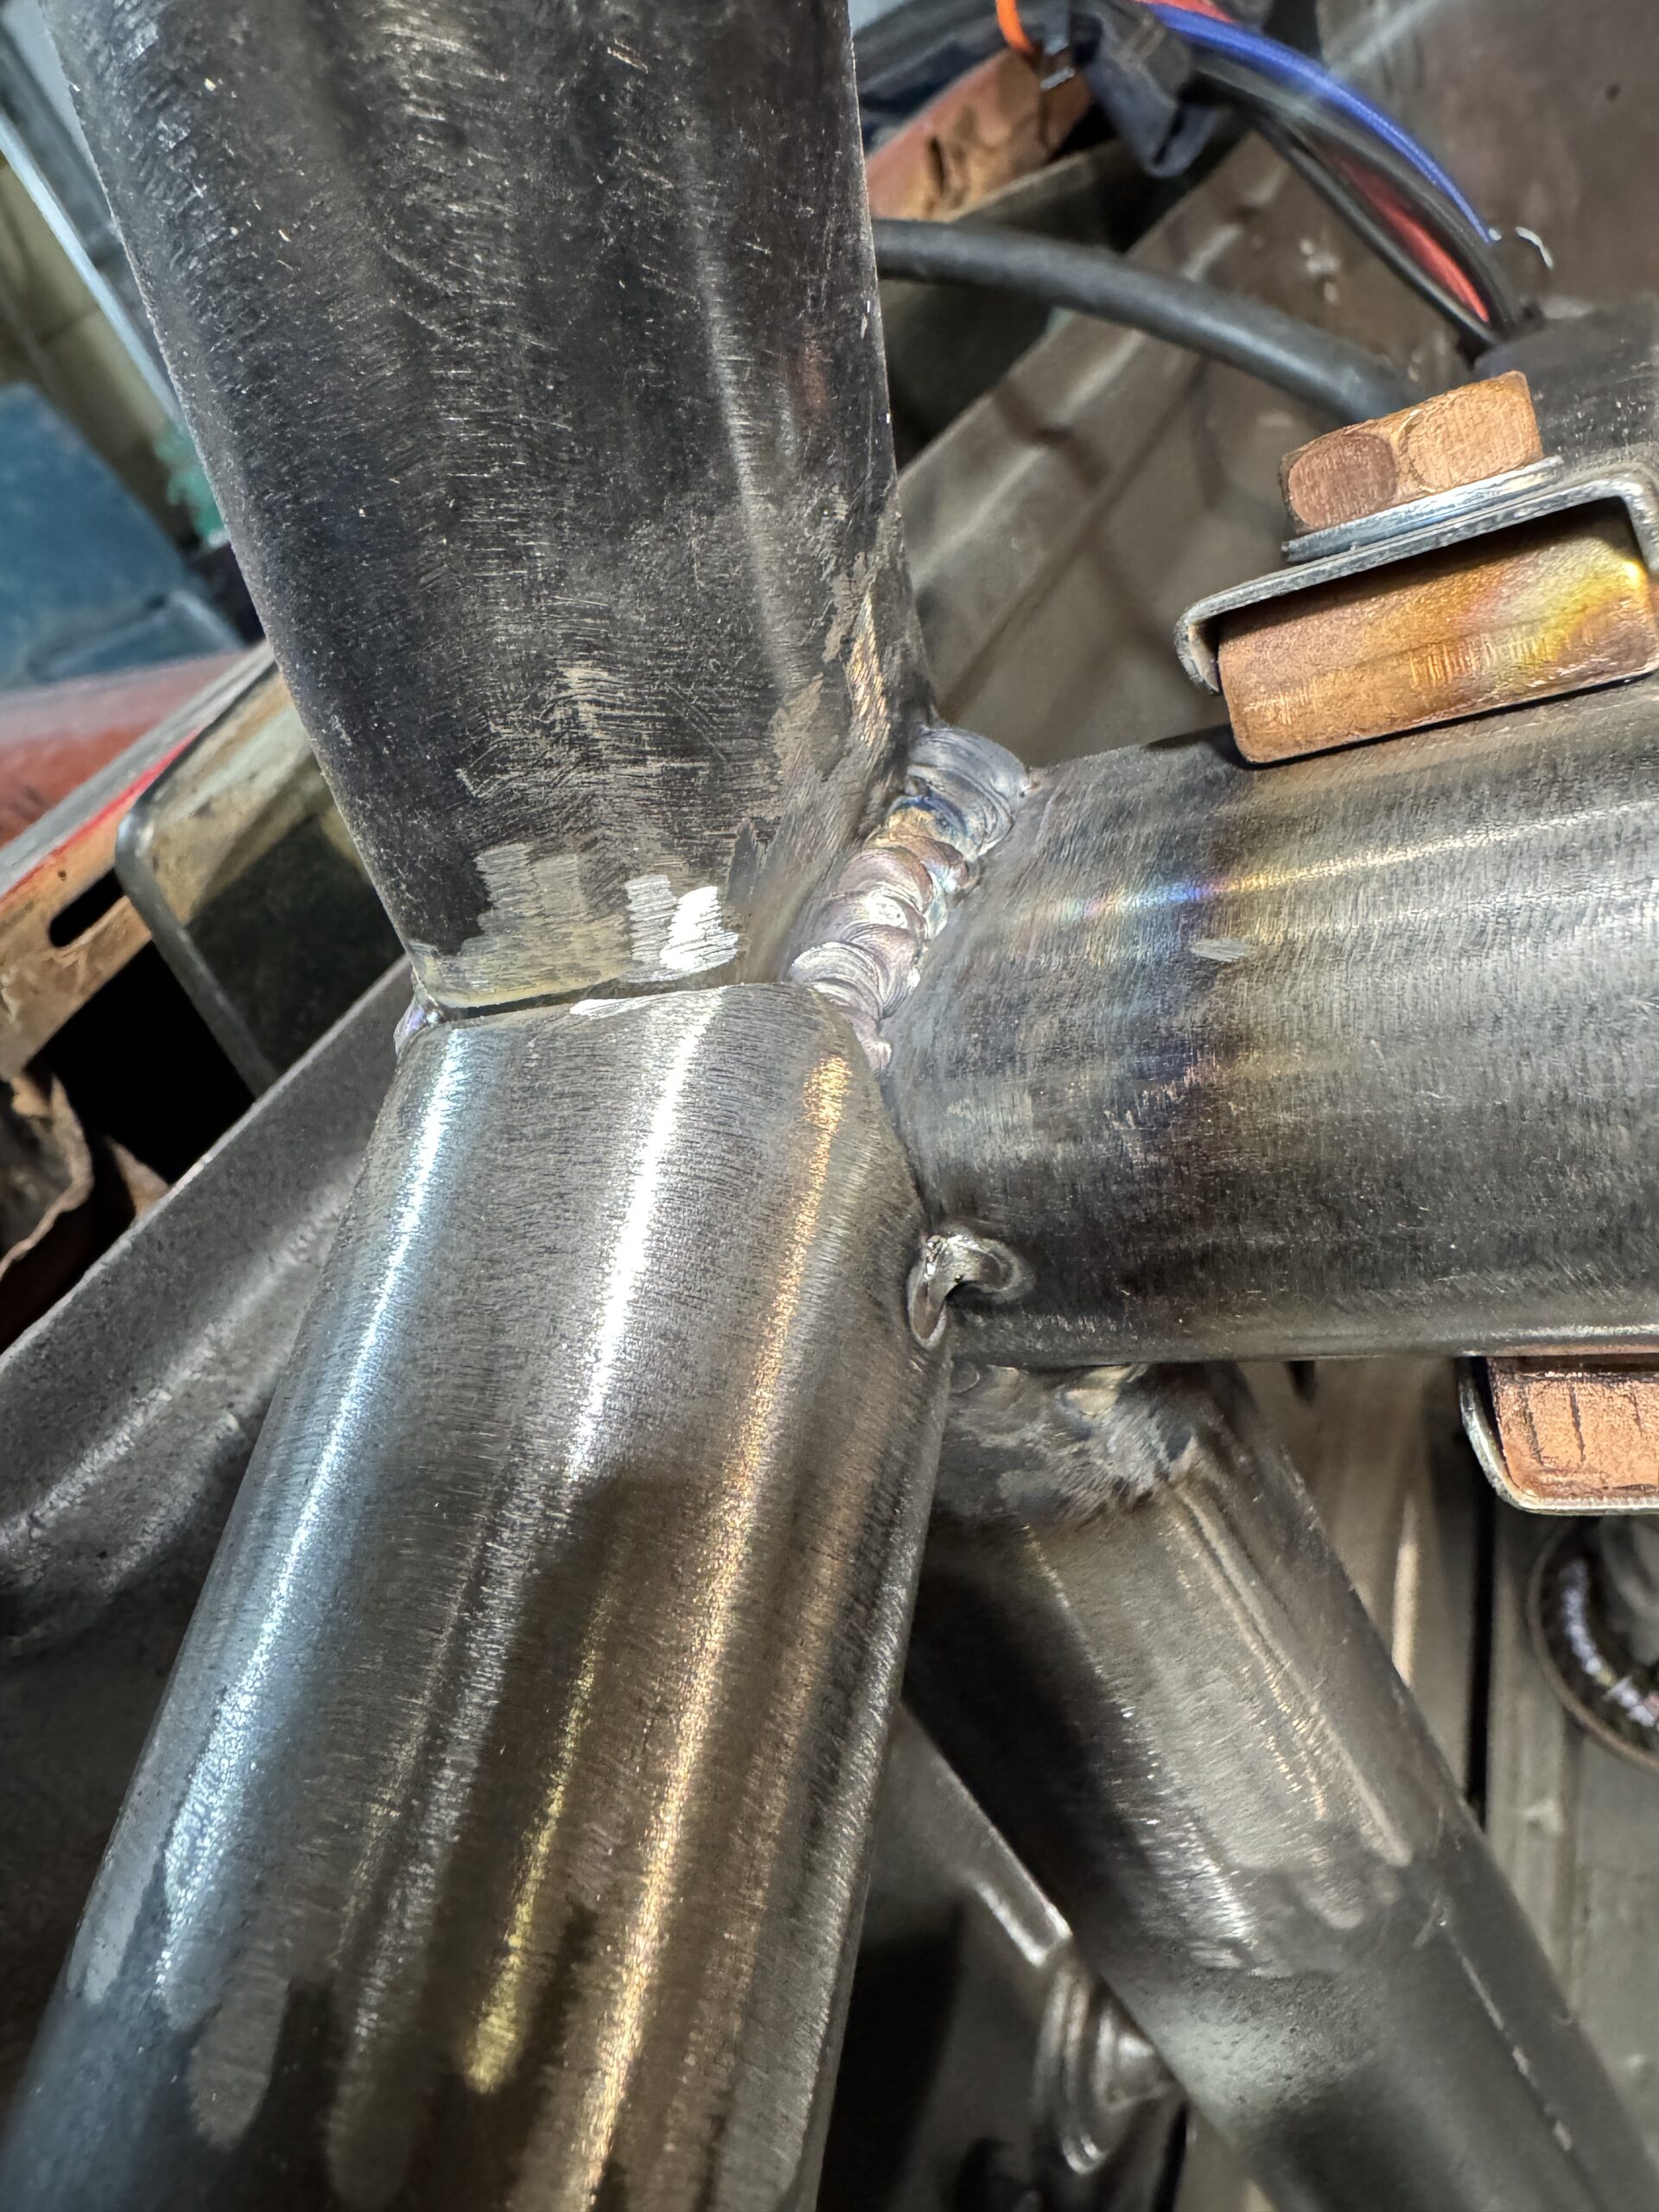
It is so critical to weld all around every bar and not leave any part of the tube fitment without weld. This also should be accompanied with gussets whether tube gussets or triangular gussets. I’ve opted for triangular gussets with appropriate sized holes for misc usage in the future.
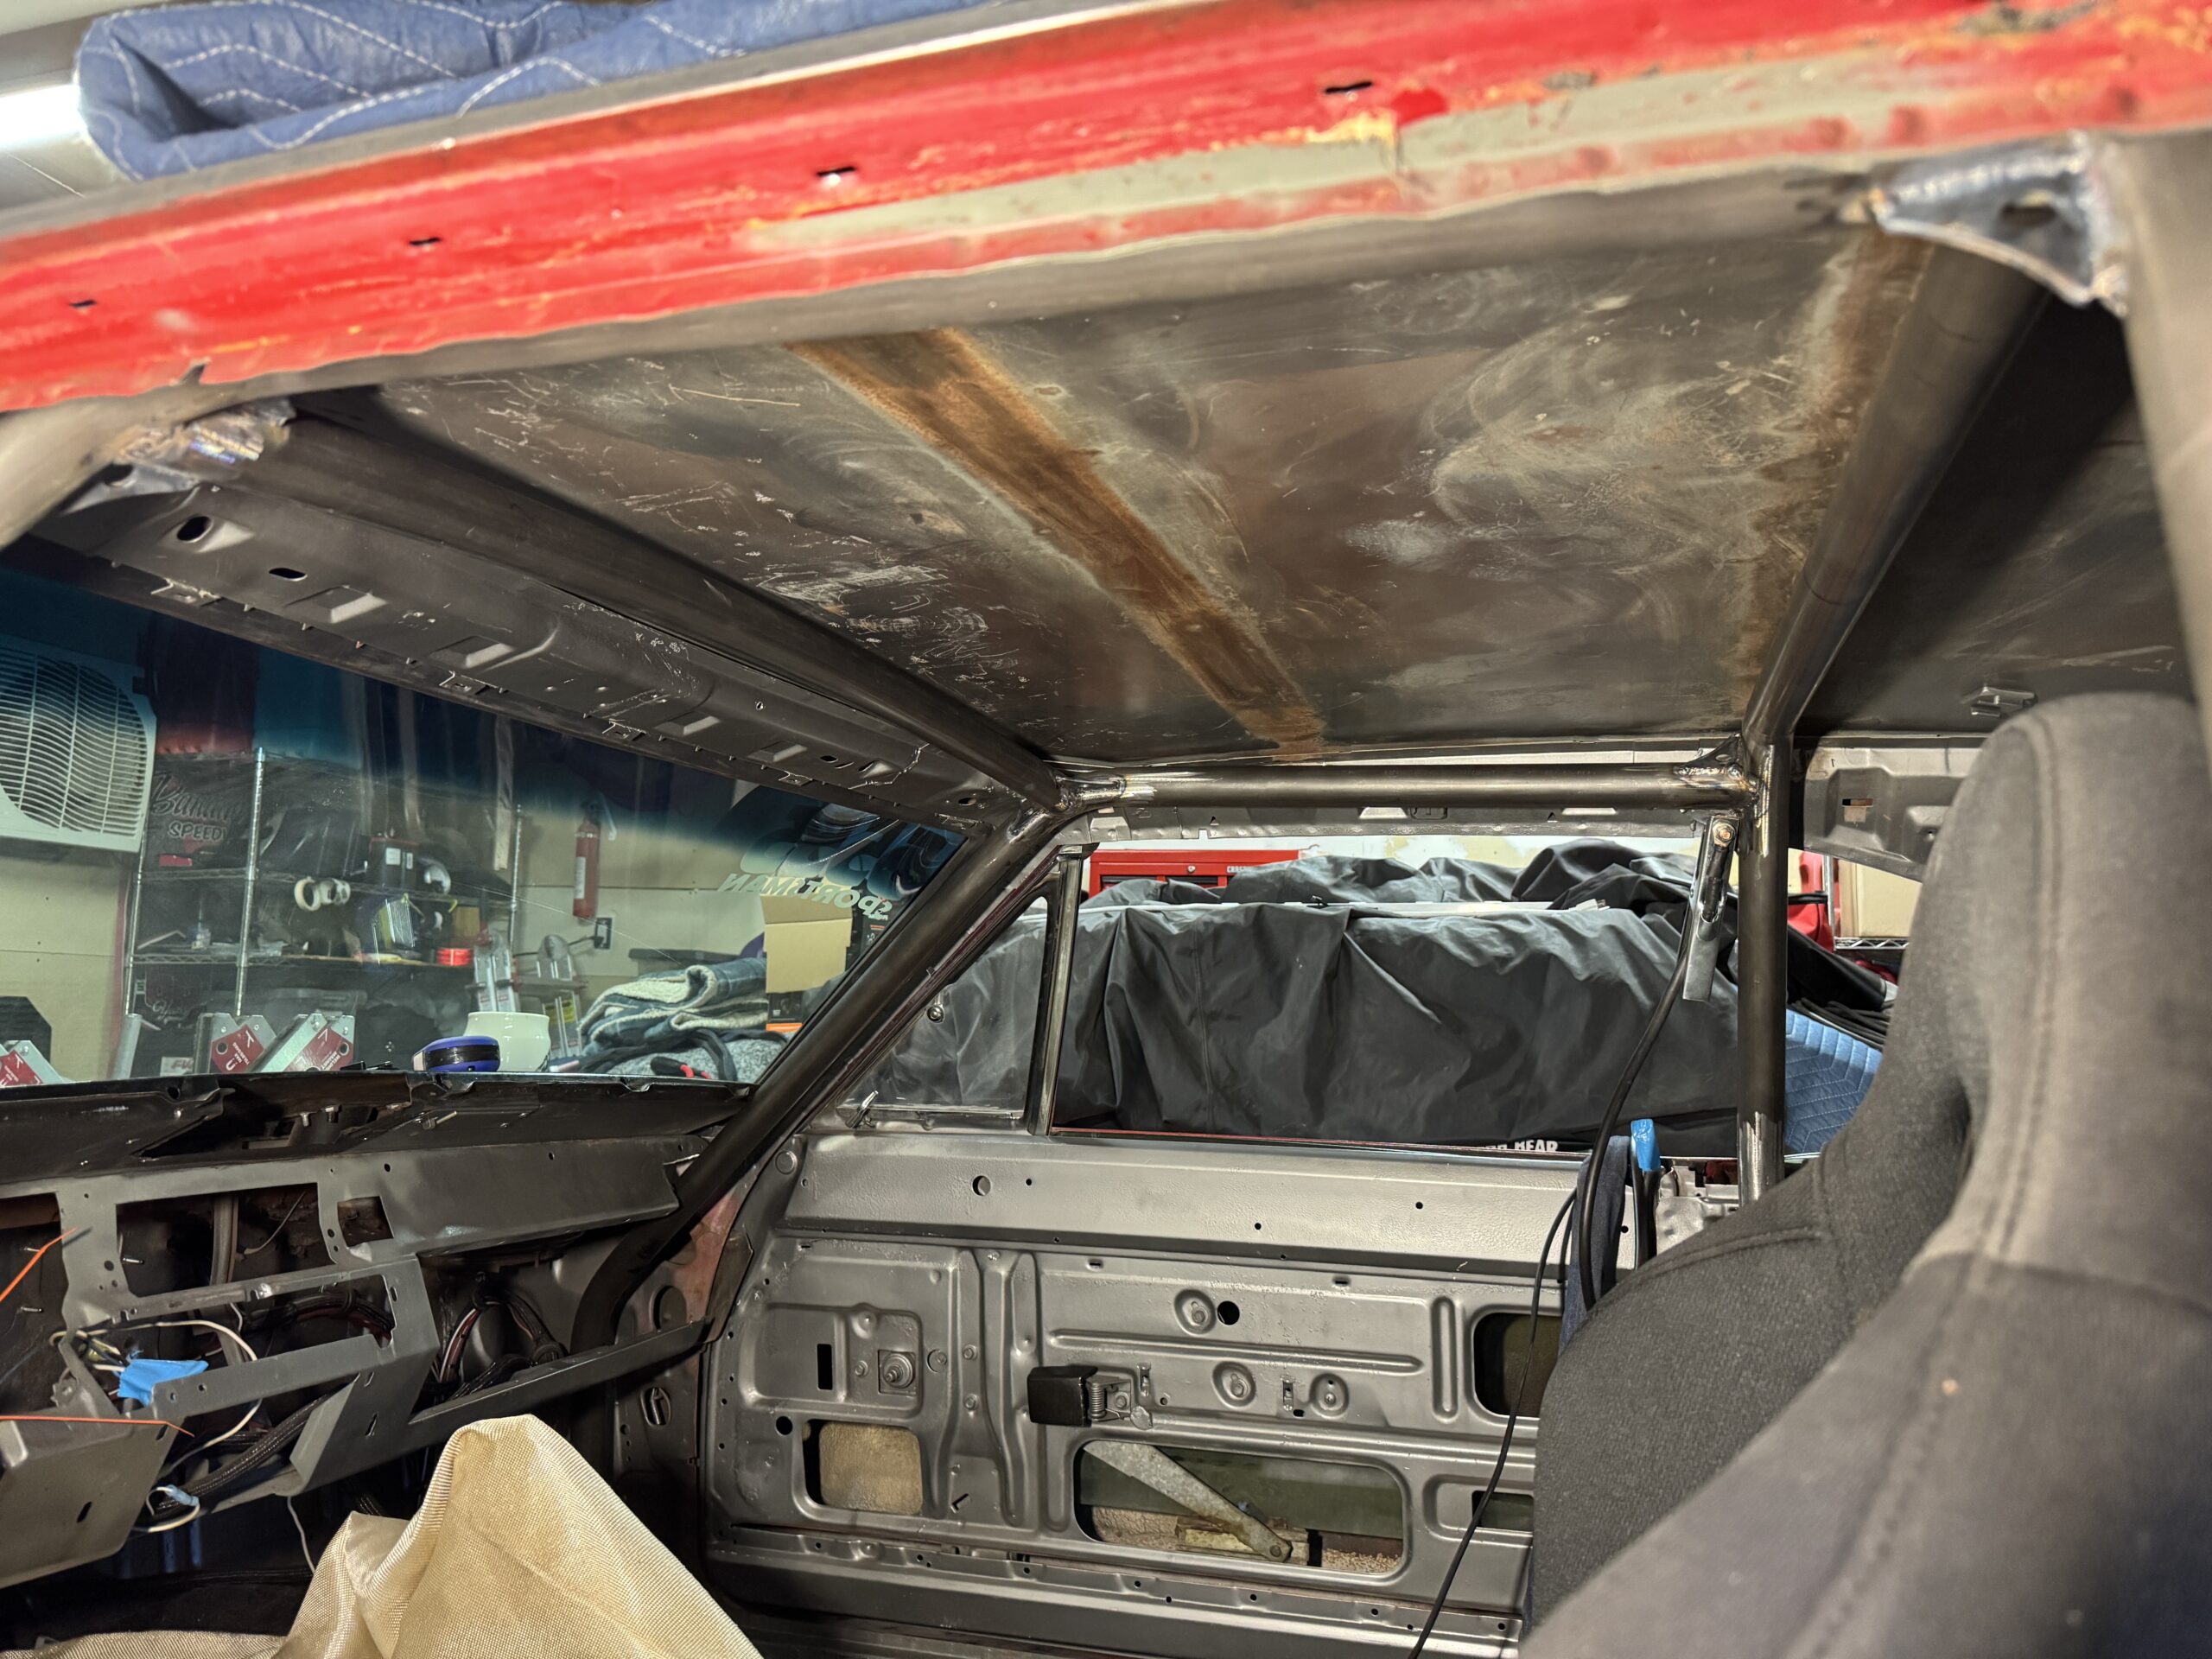
 Door bars are now the focus. NHRA rules state that an 8.50 cert cage can have a door bar on either side swing-out with appropriate legal clevis’s and hardware. Make sure this hardware and placement of the clevis is up to NHRA standards, again, referencing the rulebook. It’s placement on both sides (swing-side, pin-side,) to the vertical bar it resides next all have certain length and placement standards.
The bar itself must pass between the drivers elbow and shoulder and once in position, allows us to move forward to the tail end of the cage project!
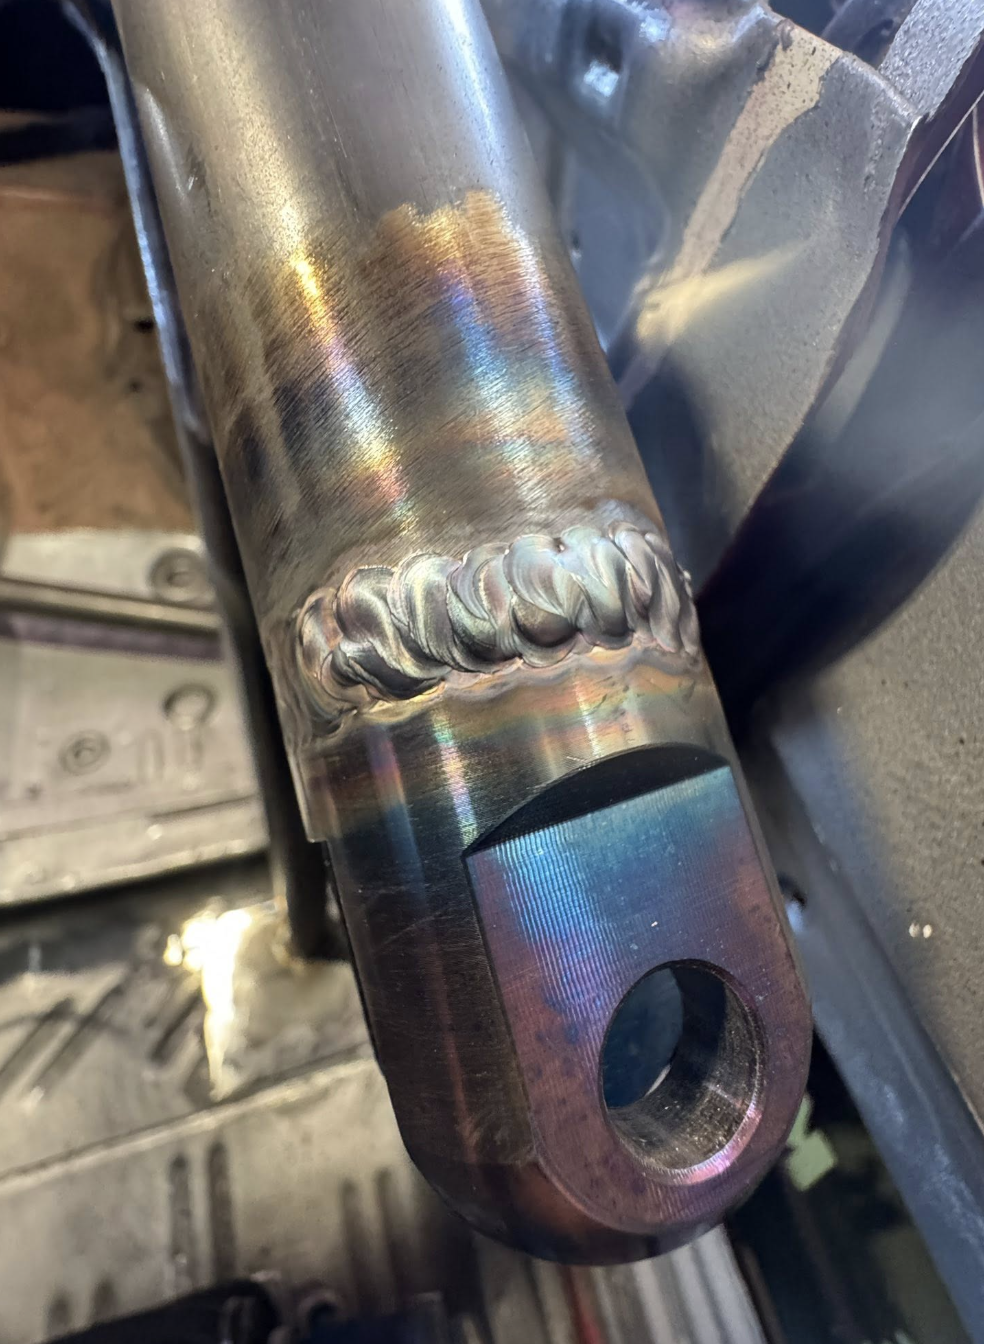
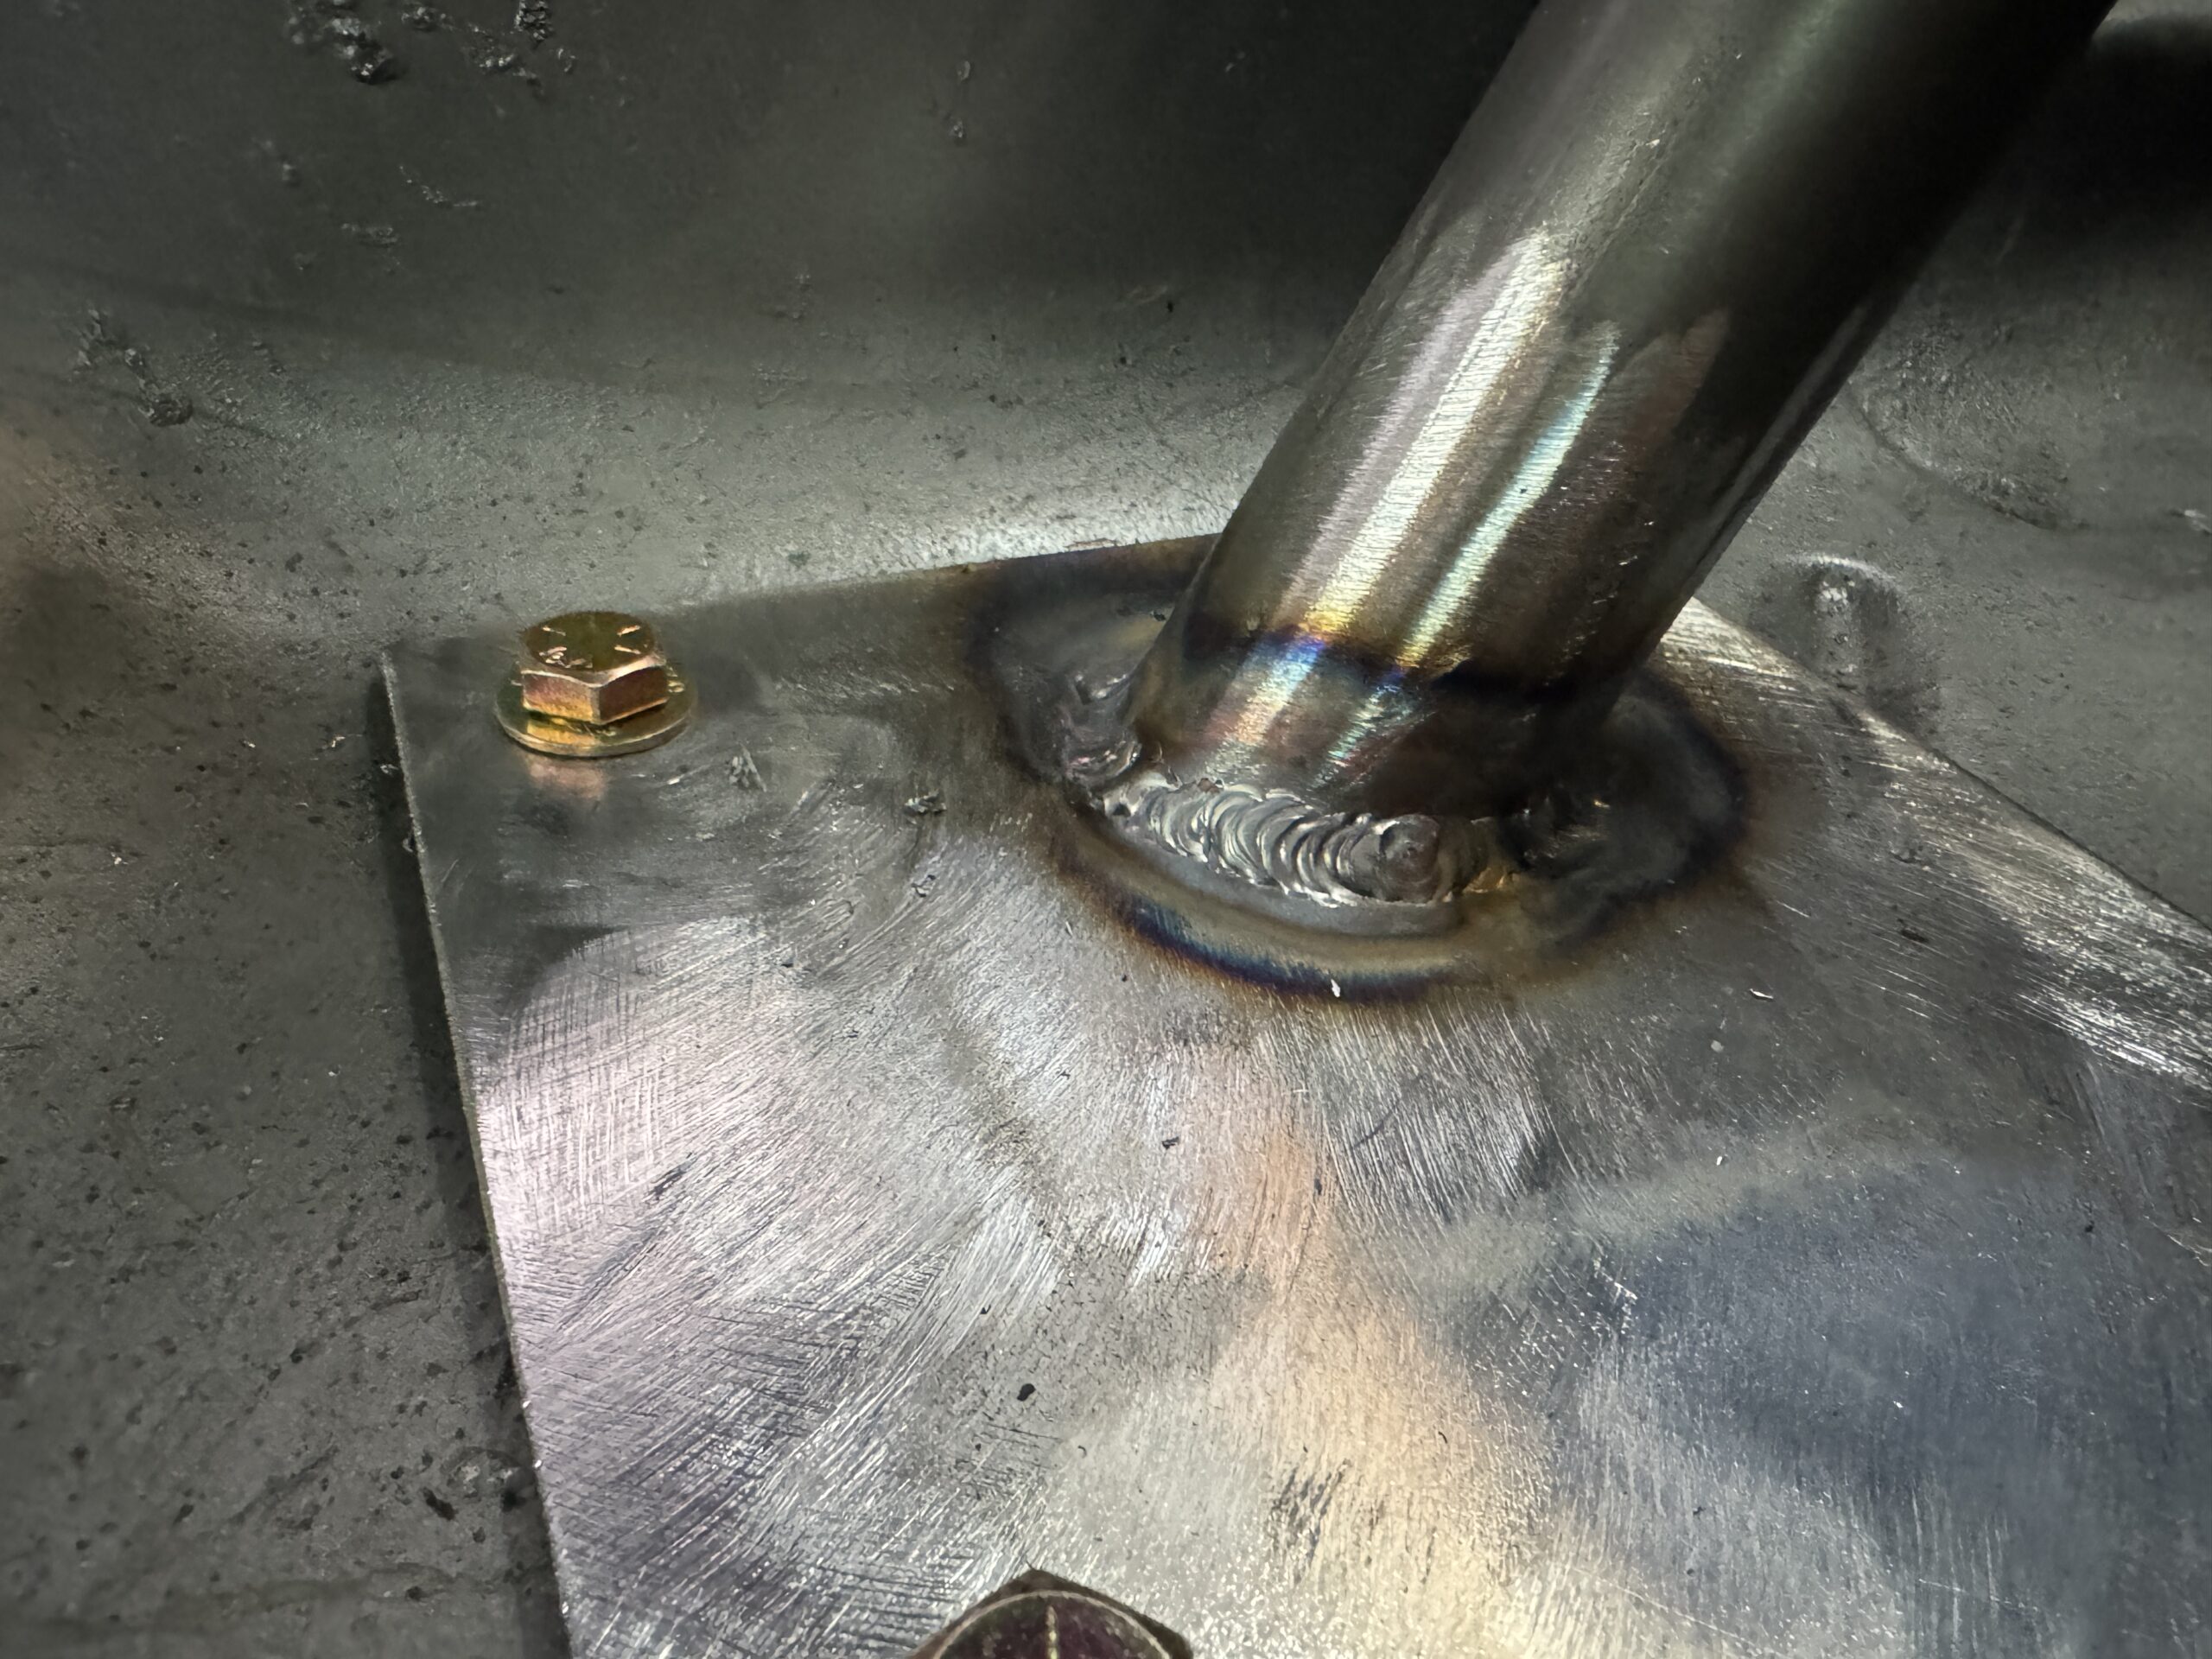
Mounting the cage to the car is equally important. This being a unibody car, 6”x6” plates of 1/8th plate take care of this. They can be bolted in or welded into the rocker or floor and gives us a great base to seal the connection between cage and car. Consulting the NHRA rulebook, particularly if your application is a aluminum frame, is critical for proper mounting.
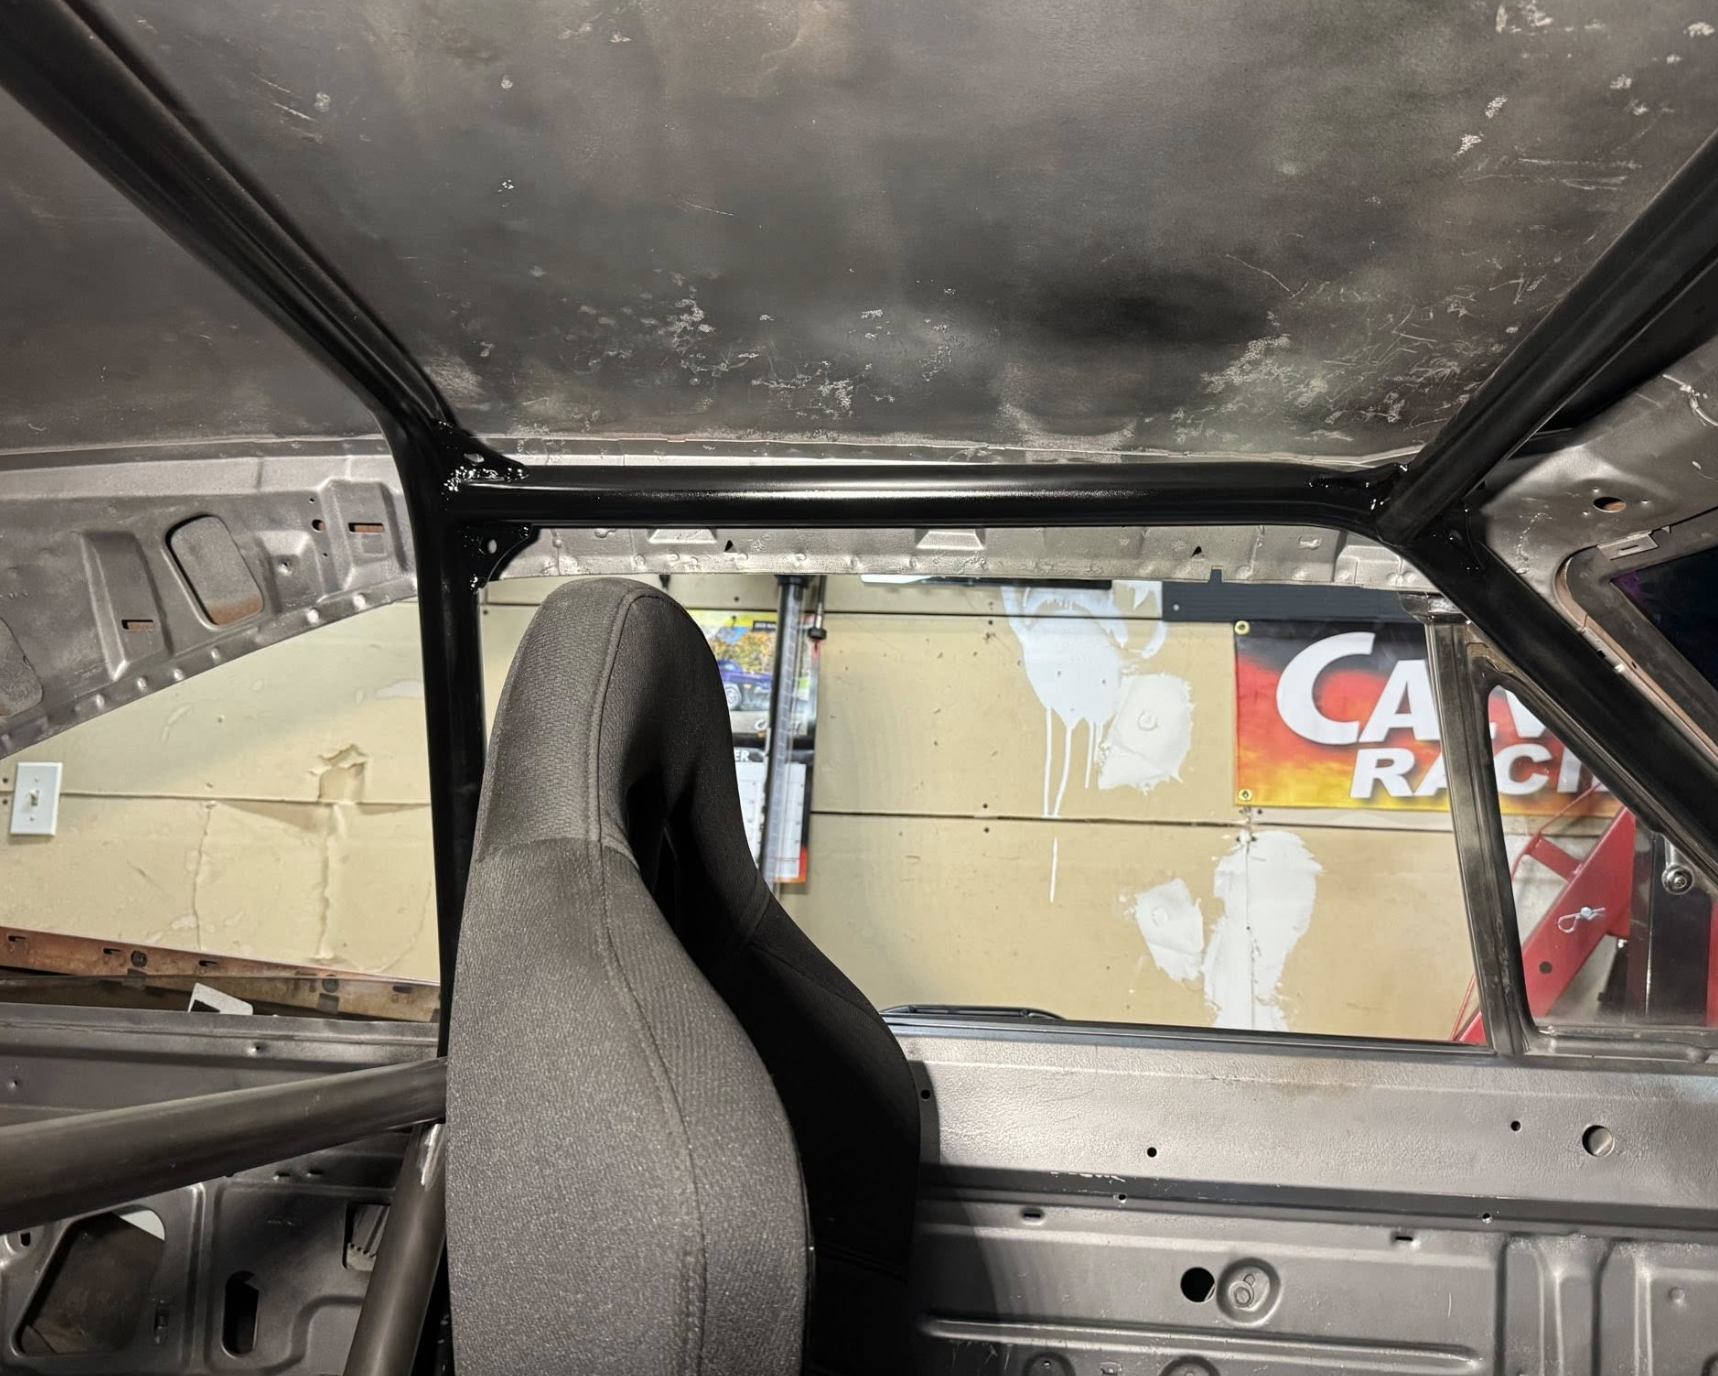
With door bars in, the focus now turns towards everything at and behind the main hoop. The cross bar seat brace, D-bars and back bars towards the rear of the vehicle are some of the easier bars to put in, however, great fitment and fish-mouthing remains important so the tig welding can zip it altogether perfectly.
 For the bar above the head to complete the halo above, I put a curve in to hug the roof better and give not only a little more space but a nice appearance to it.
With all the welding above between the halo and the dash runners at the main hoop, it’s time to raise the cage up and zip up all the joints.